

How I Built My Lava Gaming Board In One Week


This summer as I had some free time I decided to build what my collection of minis missed: a decent-looking gaming board. Having already played with full-painted armies on great gaming boards, I knew that's what I lacked to change cool battles into awesome battles.
What I needed
Here are some criteria I listed in order to plan this:
- The table can be reconfigured easily to vary the challenges
- The table is easy to store
- The table must be bigger than a standard one (4'x6') and can be extended easily (I love Apocalypse-sized games)
- The table should cost less than 150€ (about $165). Games Workshop's Citadel Gaming Board costs 260€ (or $330)
- The table must be done in less than two weeks. I knew I would not finish it otherwise. Time-boxing is an important constraint I apply on most of my projects.
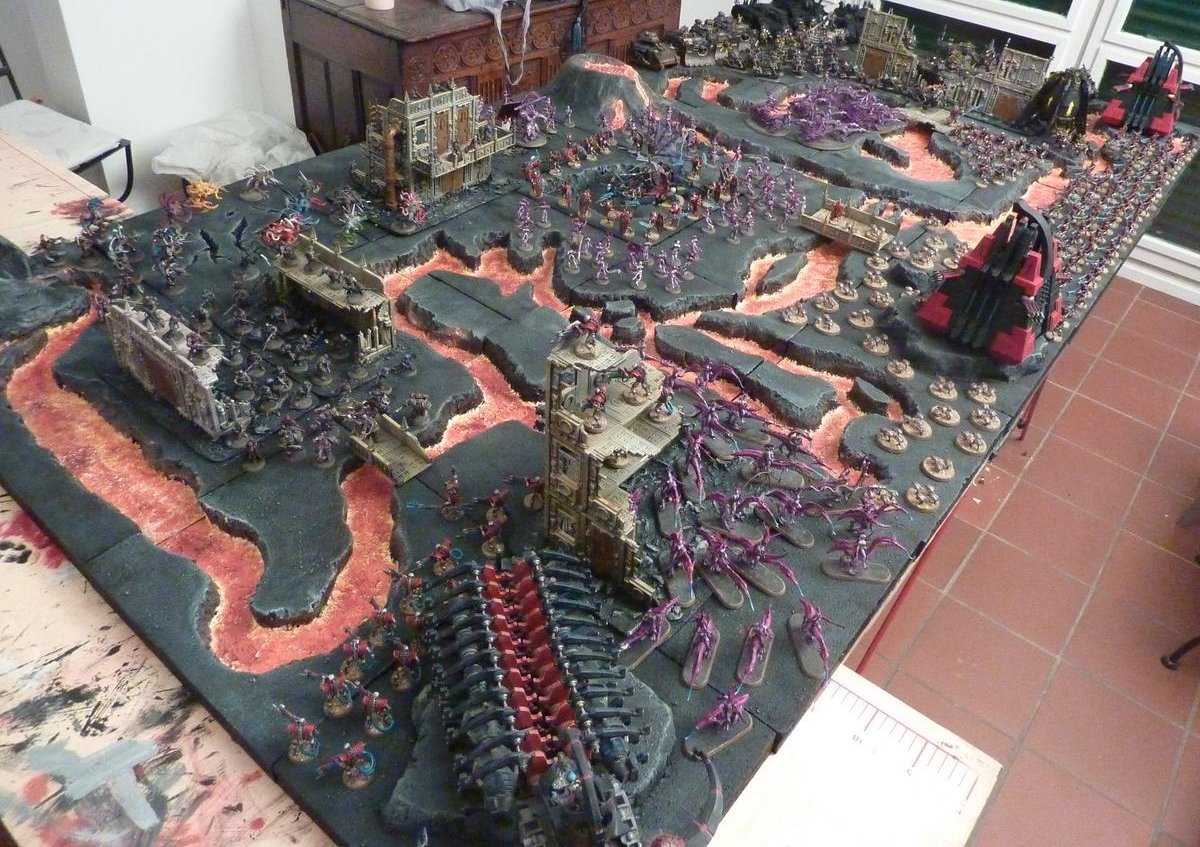
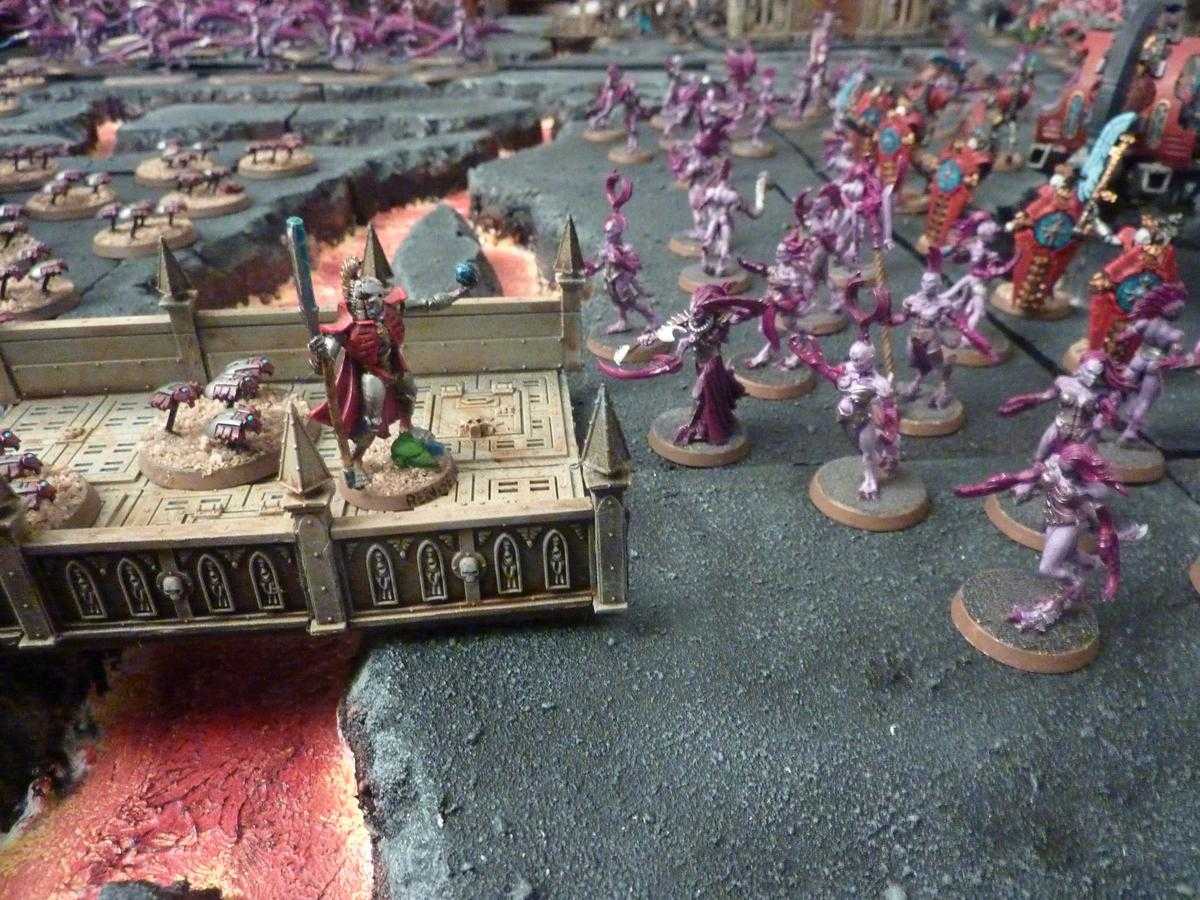
Before diving into the "How" part, let's tease the result with some pics :

How I did it
Planning the modules
First of all, I chose a lava theme. It goes well with my armies (Chaos and Necrons) and I think that a lava table can provide some challenges while being enjoyable to play on. However, I believe the techniques used here can be used for other themes – lava can be ice on a frozen ground, or rivers on an arid planet, or toxic streams on a wasted land.
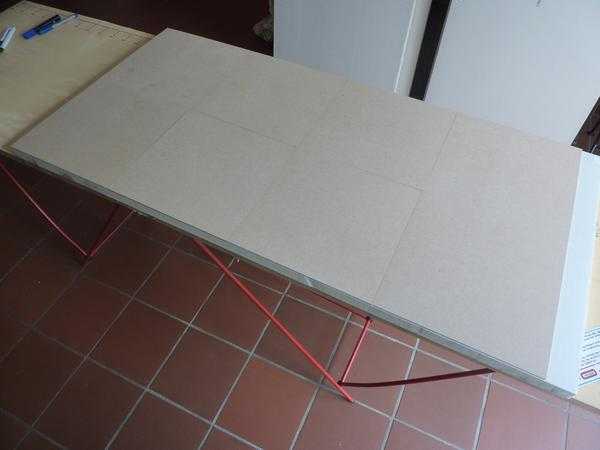
Taking the criteria into account, it was obvious that the table had to be modular. I decided to go with 30cm squares (about 1 foot): they are easy to store and provide a lot of possible configurations. Then I sketched the modules on a paper sheet to test some configurations and to balance the surface occupied by the lava rivers.
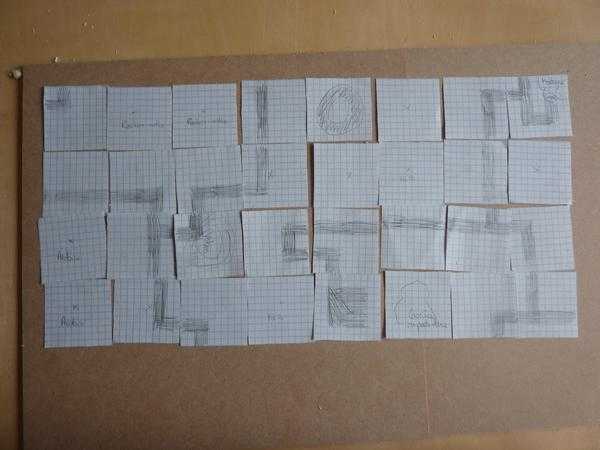
There are 32 squares covering a table of 2.4m by 1.2m (8' by 4'). 21 squares are with lava, 11 without. I chose to make lava riverbeds off-center in order to allow more exotic modules.
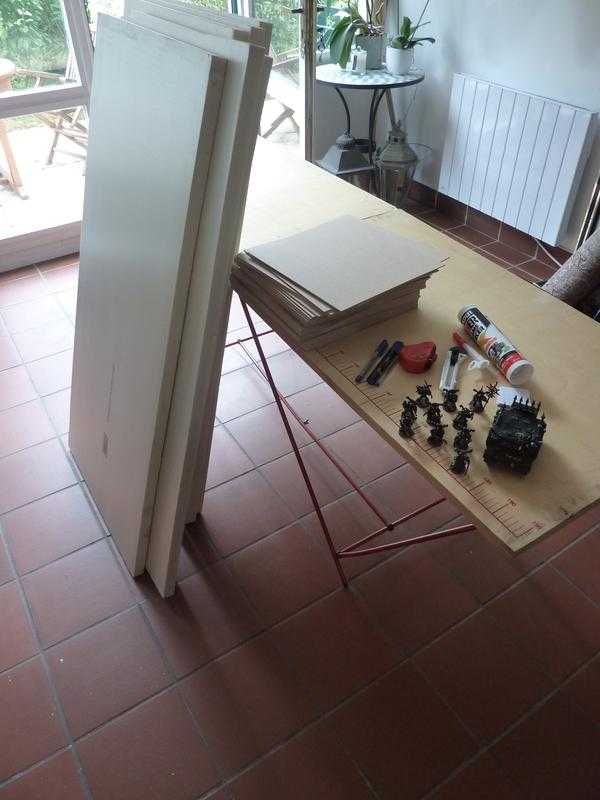
Gathering the materials
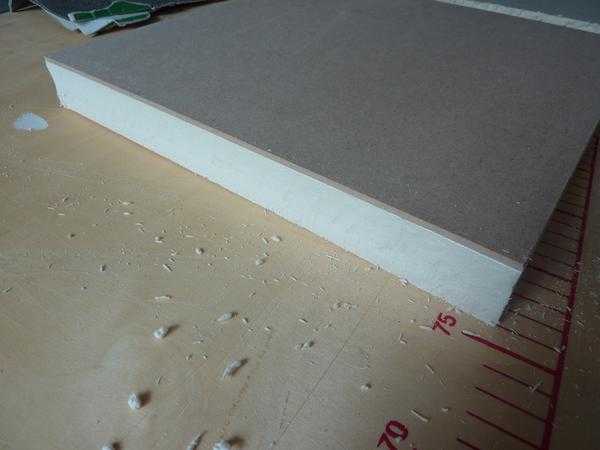
- Insulation foam. It came in 60cmx125cm (2'x8') sheets, so I got 6 of them just to be on the safe side: 18€
- 30cm (1') pre-cut plywood squares: 19€
- 1 tube of subfloor glue: 8€
- 2 tubes of ACRYLIC latex caulking for the lava: 10€
- 1kg of plaster: 3€
- Some play yard sand: free
- 0,75L of cheap white acrylic craft paint: 8€
- Yellow and red cheap acrylic dyes: 8€
- Black latex wall paint: 40€. I used 1,75L of it for a 1,2mx2,4m (4'x8') surface.
- Some tools, a caulking gun, a plastic tarp, sandpaper… things that I already had
TOTAL: 114€ (about $125)
Designing the modules
8 modules can be built from each foam sheet. Using a plywood square as a guide, I cut through the foam with a very sharp knife.
After that I used sandpaper to smooth the edges of the modules.
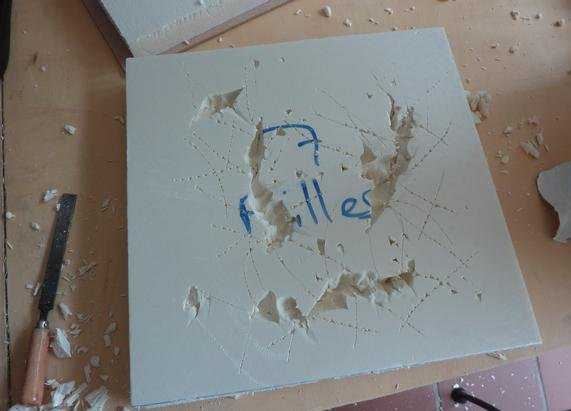
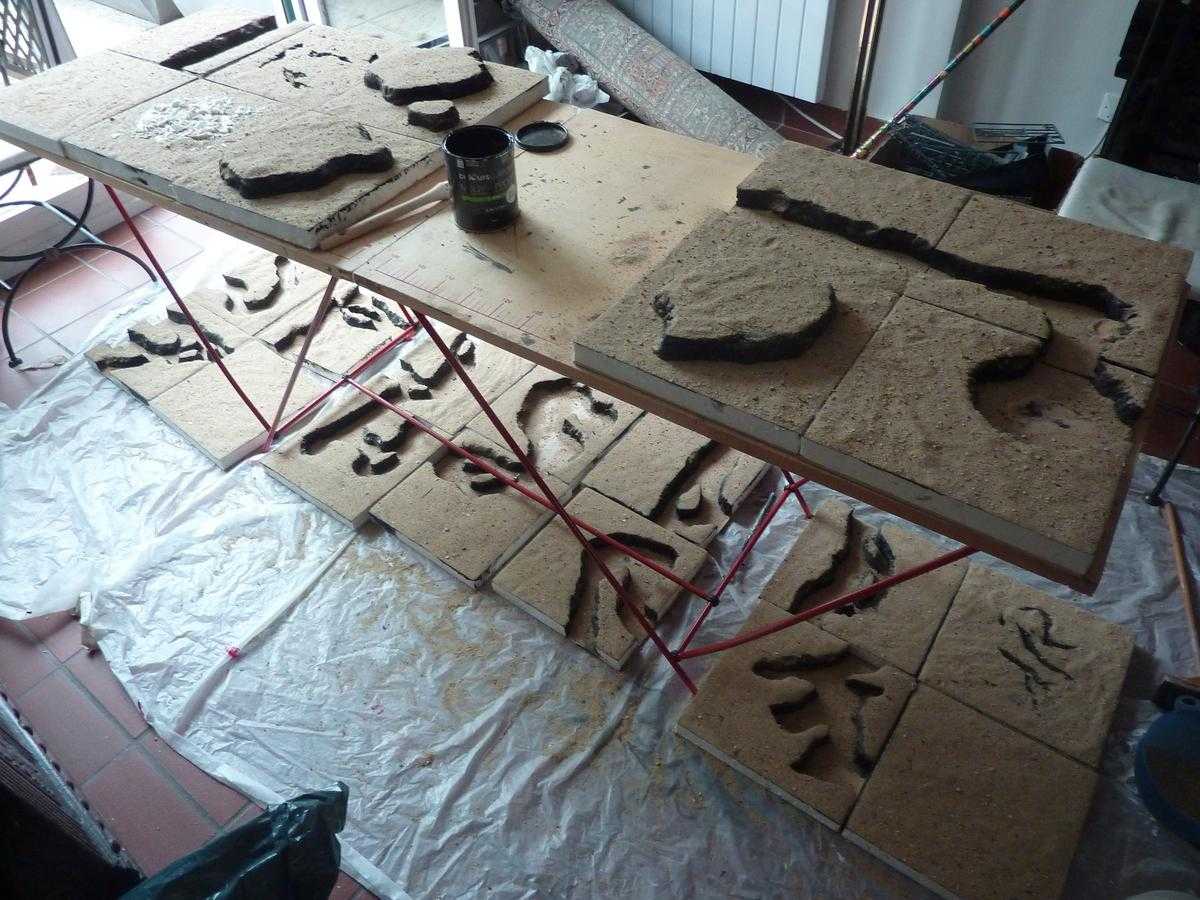
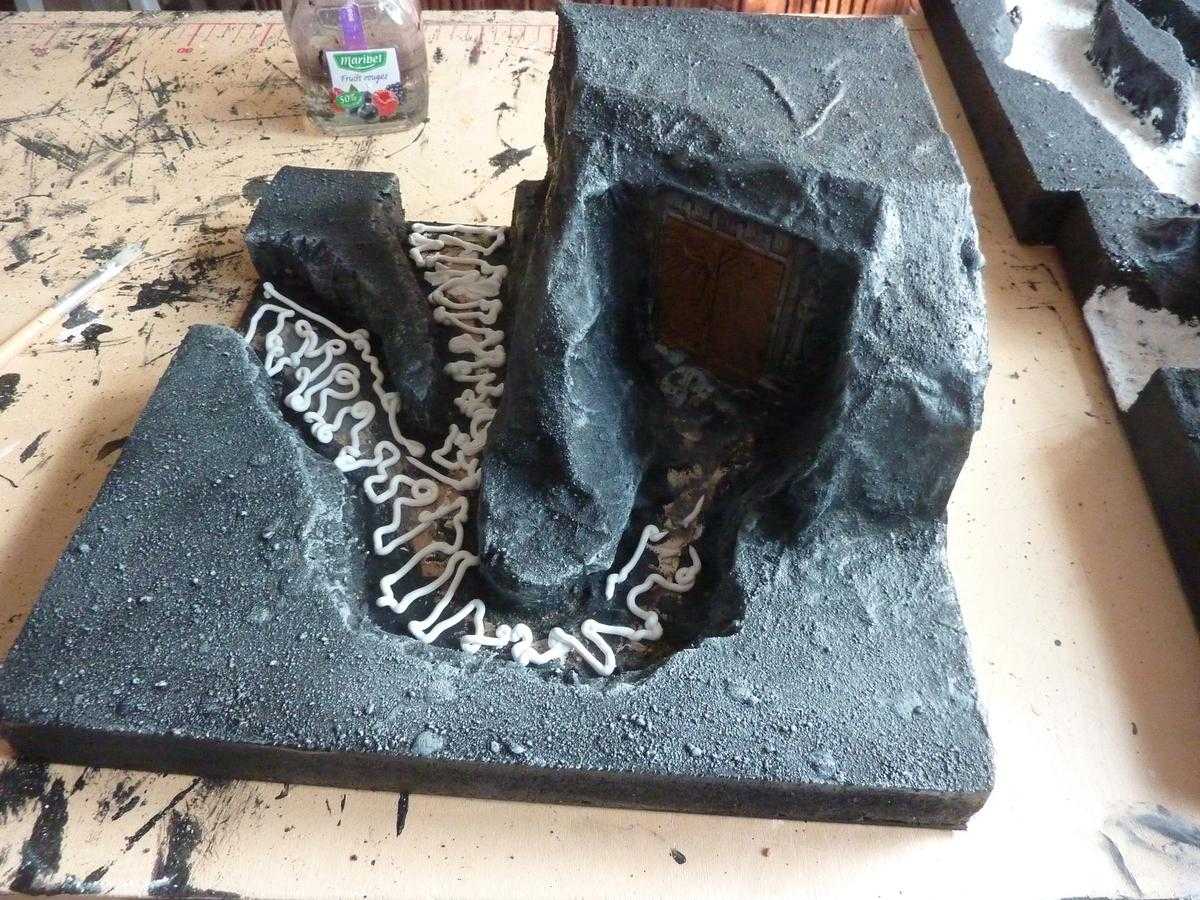
Following the plan, I drew the lava channels and I identified the modules. I used a simple template (the blue sheet on the right) to make sure the lava channels would face each other properly.
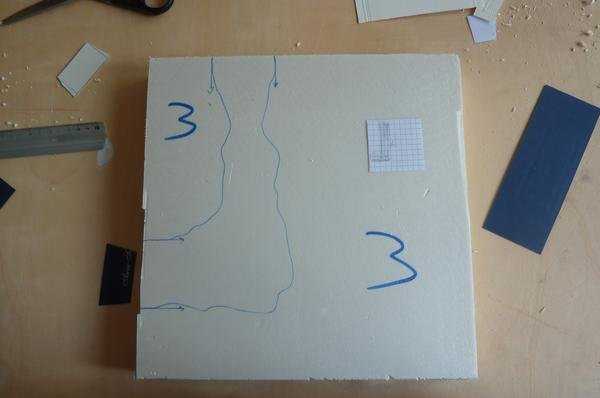
Then I cut the lava channels with the sharp knife. To randomize the edges of the lava channels, I took some scissors and I cut randomly in the foam only using the tip of the scissors. After sandpaper smoothing, I got the look and feel that I wanted.

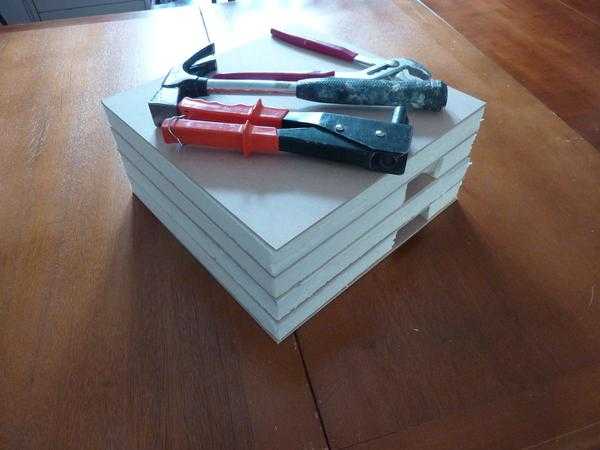
Time to glue the foam to the plywood! Using the caulking gun to make sure the edges have some glue. This is very funny.

Dry time: one night.
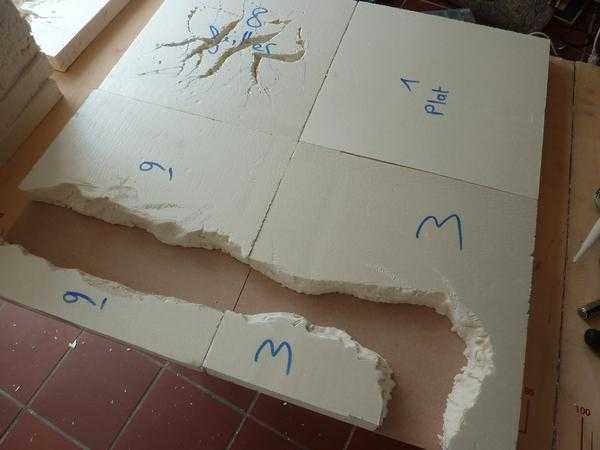
After that, checking that the modules fitted in properly before continuing.
Customizing the modules
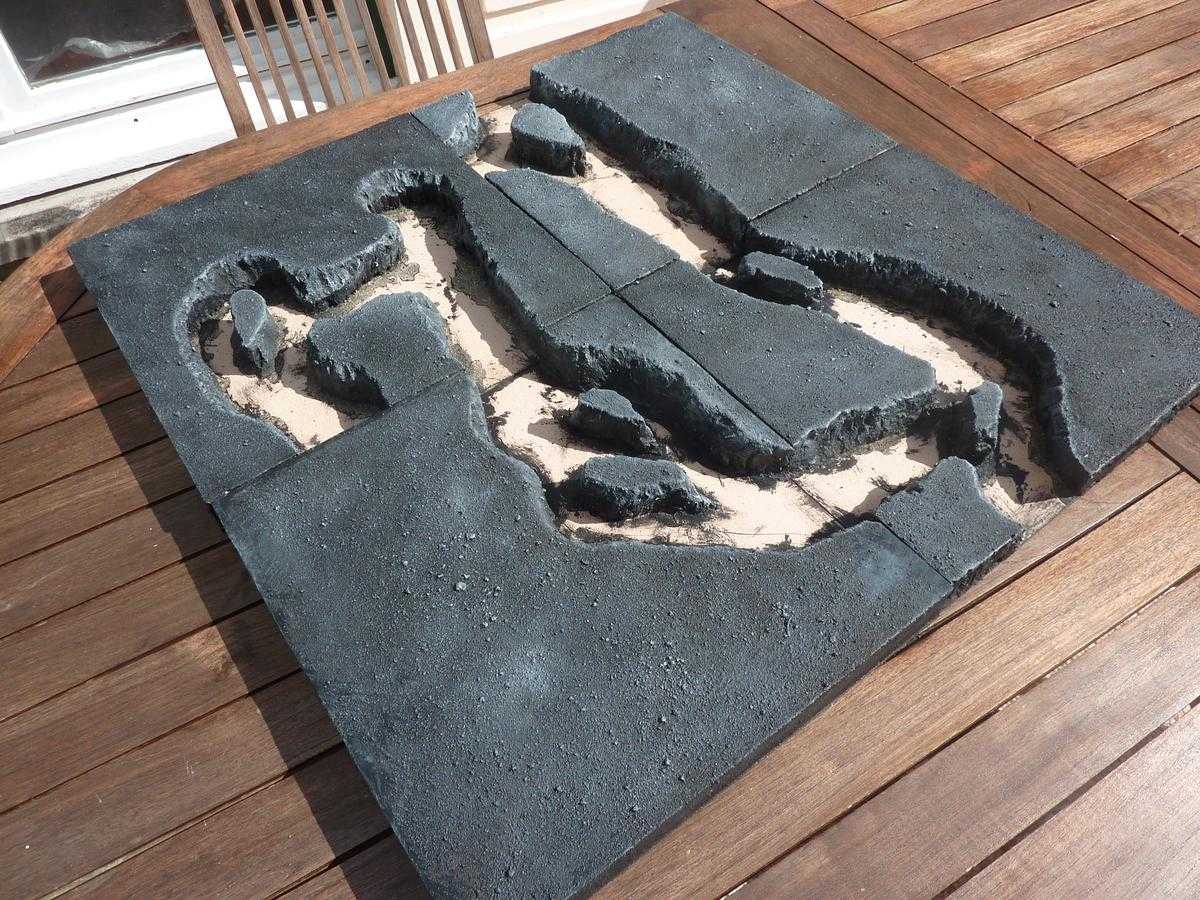
I made some custom modules. Two of them were designed to represent some part of the soil melting down (or cooling down). I burned the foam with a match (beware, emanations from burning foam are toxic) and then cut the foam with the scissors.
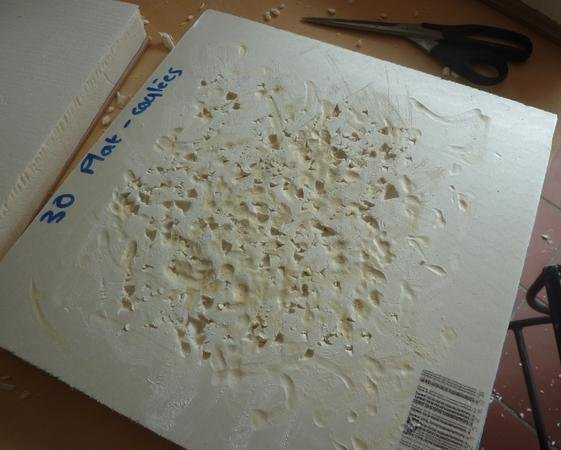
For two other modules I made some rifts with the same scissors-technique, but on a larger scale.
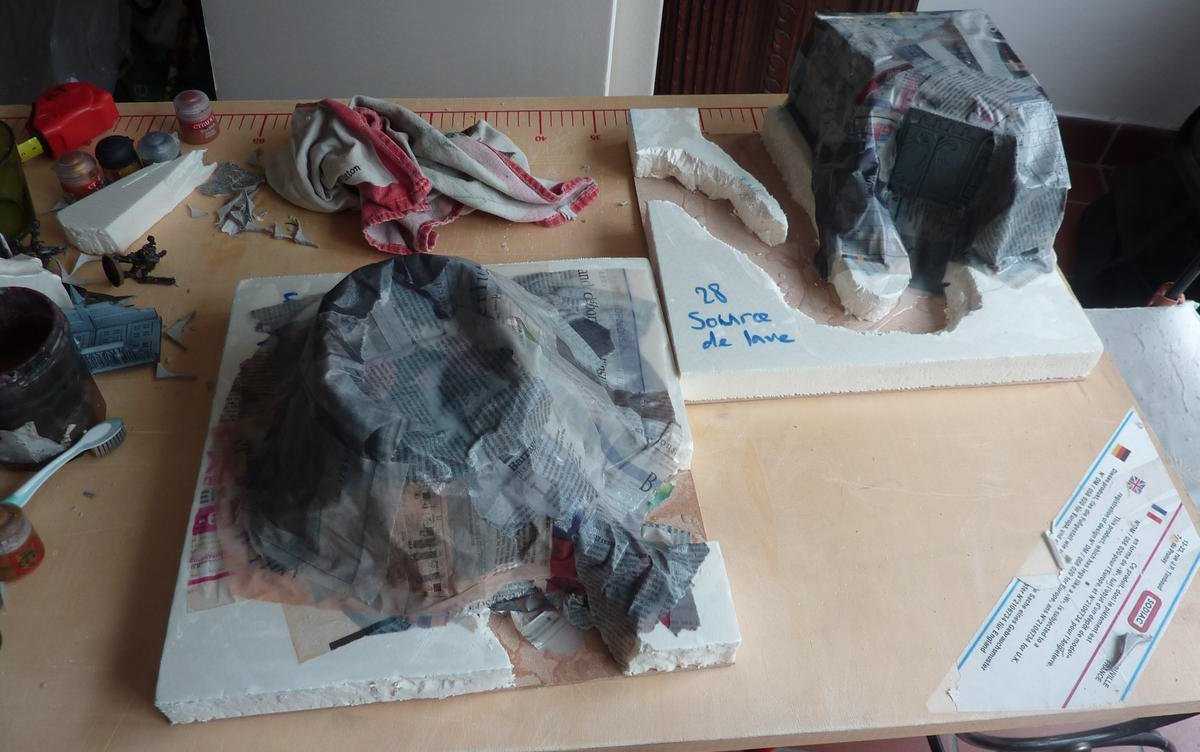
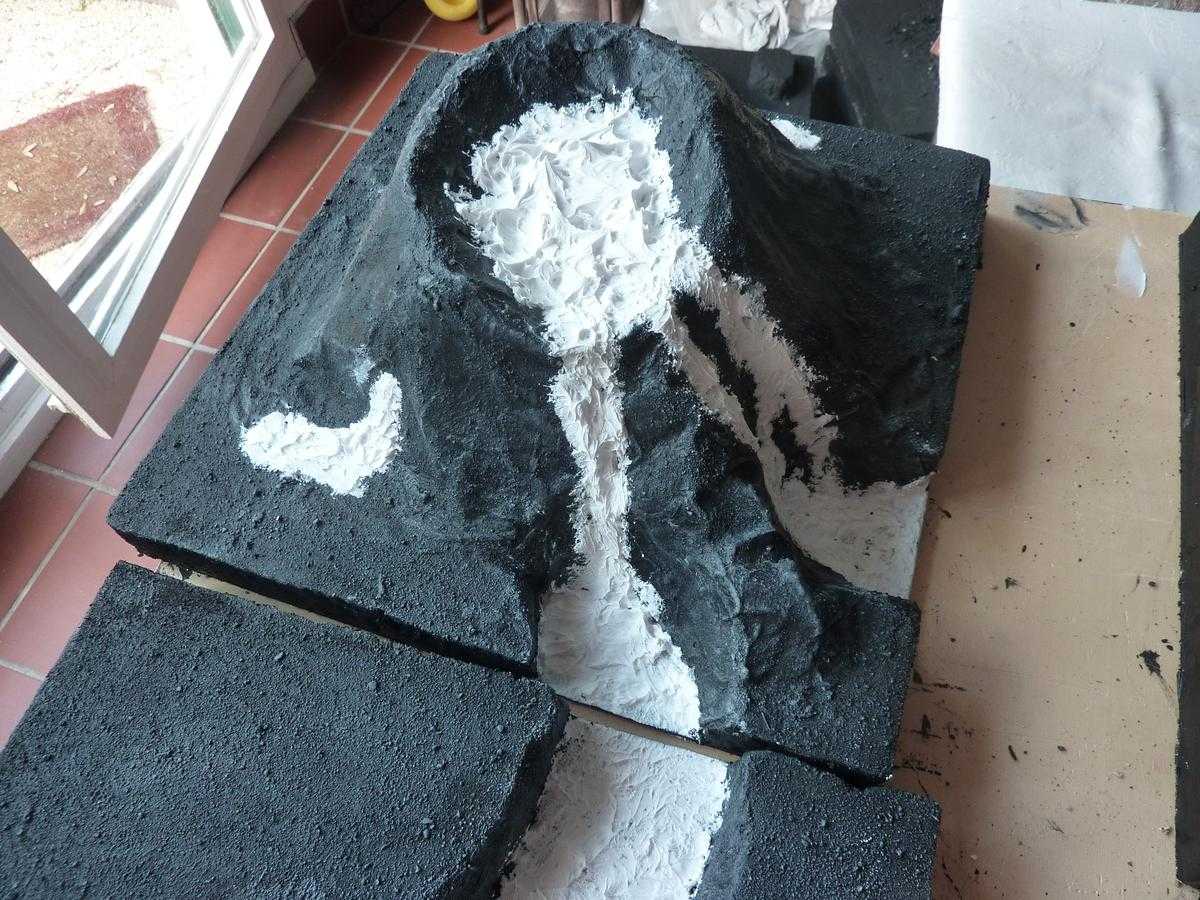
I also wanted really special modules. To make these, I used the remaining foam to build a mountain in the corner/a volcano in the center of another one.
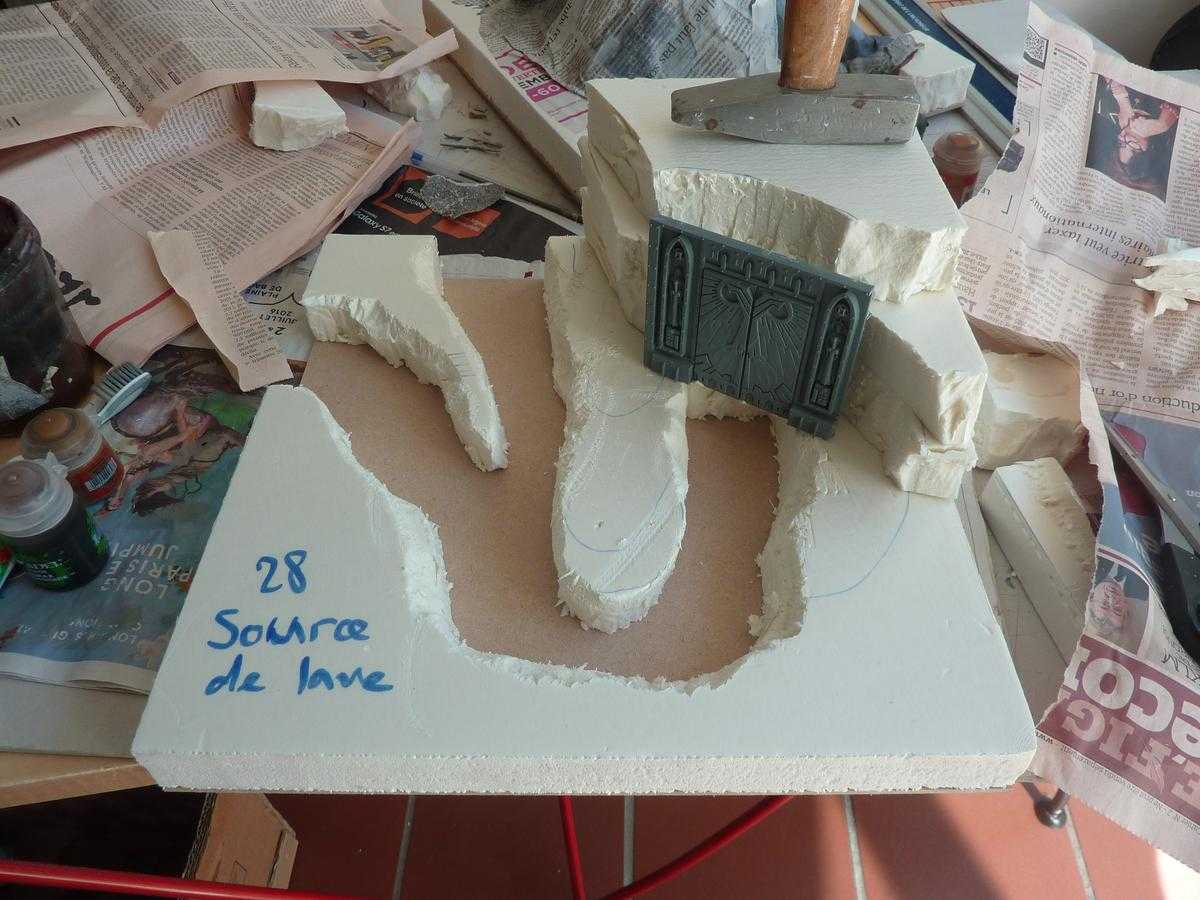
Then I covered it with paper mache (that's where the plaster has a role to play) to get a smooth and hard surface.
Adding some scenery
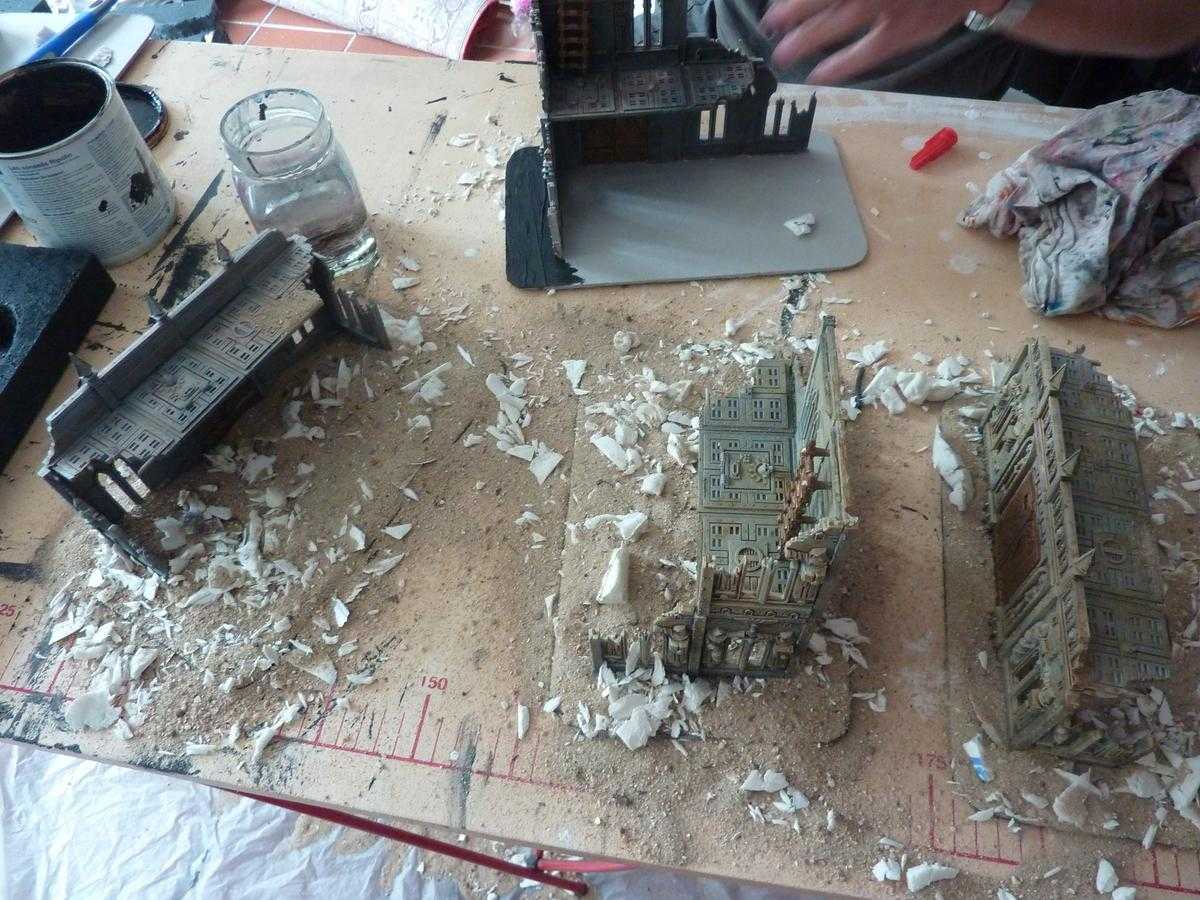
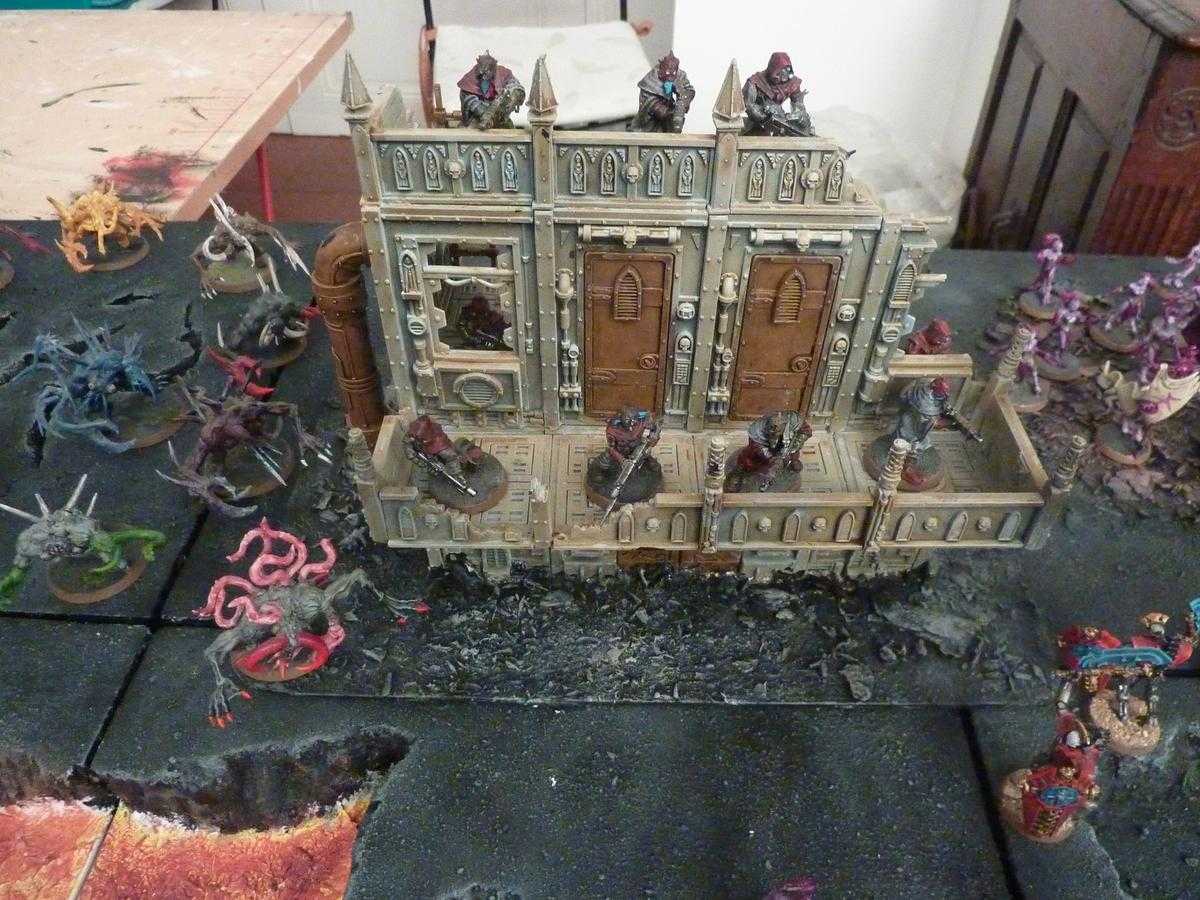
As I waited the paper mache to dry, I cut bases in a sheet of hardboard. I already had an Imperial city kit, but I never used it before, so it will be put to great use now.
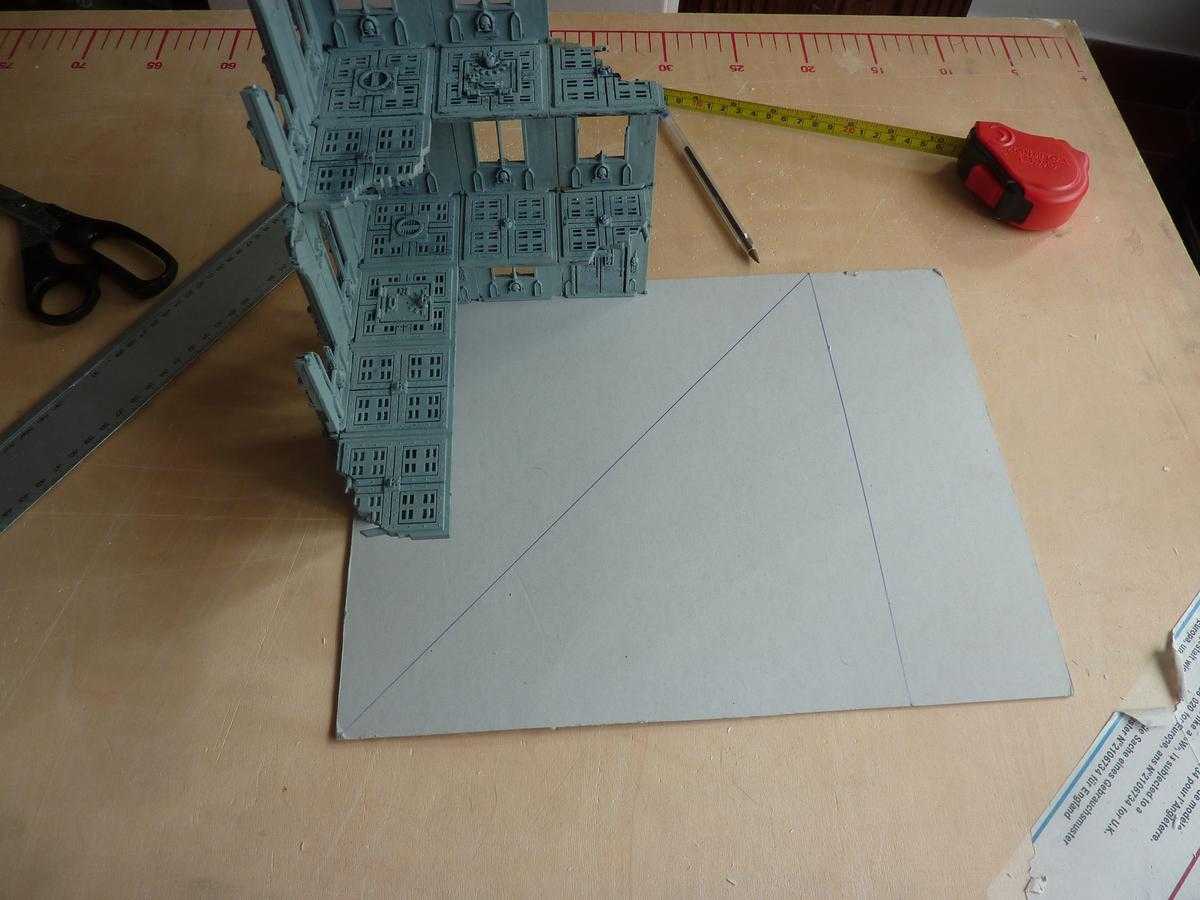
From the old buildings I never used, I took some of the floor tiles and I made five bridges – 2 for infantry squads, 2 large enough for a Rhino to cross and 1 capable of handling a Land Raider.

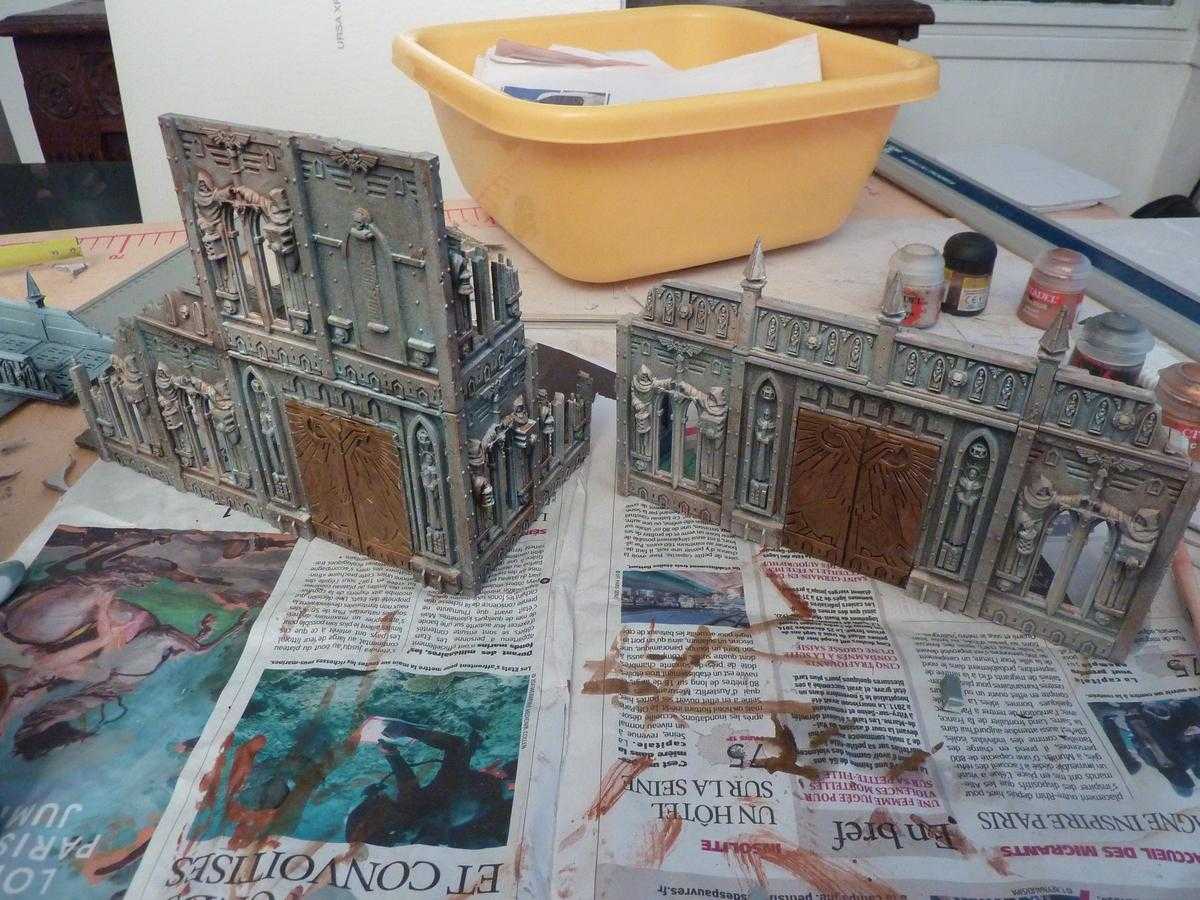
I sprayed them with a layer of chaos black then I took the white spray and used it at a high angle from above.

After that, I applied a brown wash on the walls and I painted the details with brown and bronze colors. I love speed painting techniques and here I was satisfied by the ruins painted in less than 20 minutes.
Time for some texturing
Here is the trick of this whole project: using the black latex wall paint. It behaves as a glue, a base layer and a colour layer at the same time. The goal is to seal the sand between two layers of paint – and believe me, it works very well. So first of all, let's apply a generous first coat.
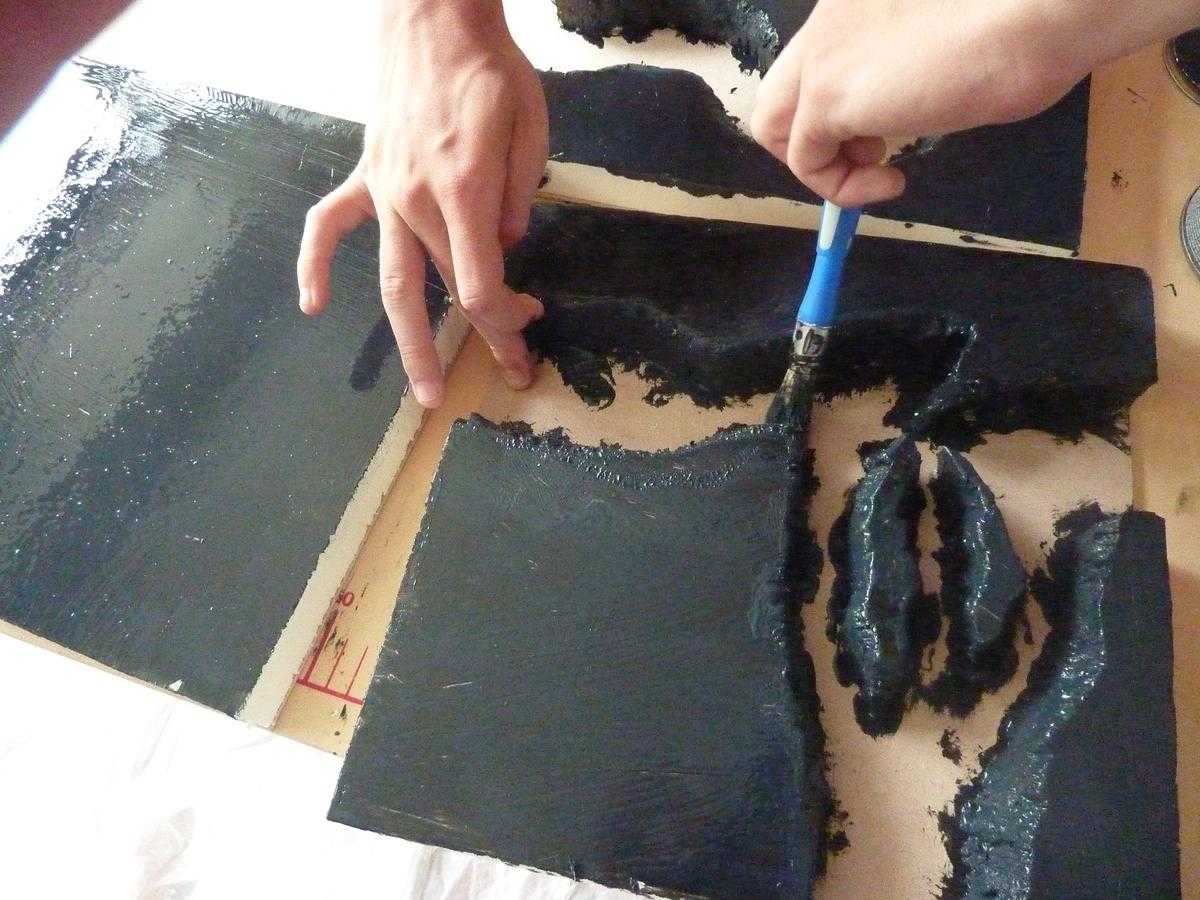
I poored the sand on the fresh paint and let it dried 4 hours – enough time for the sand to be "glued" by the paint to the foam.
Working with modules is a real pleasure because you can texture one at a time, and when you finish the last module the first one is dry.
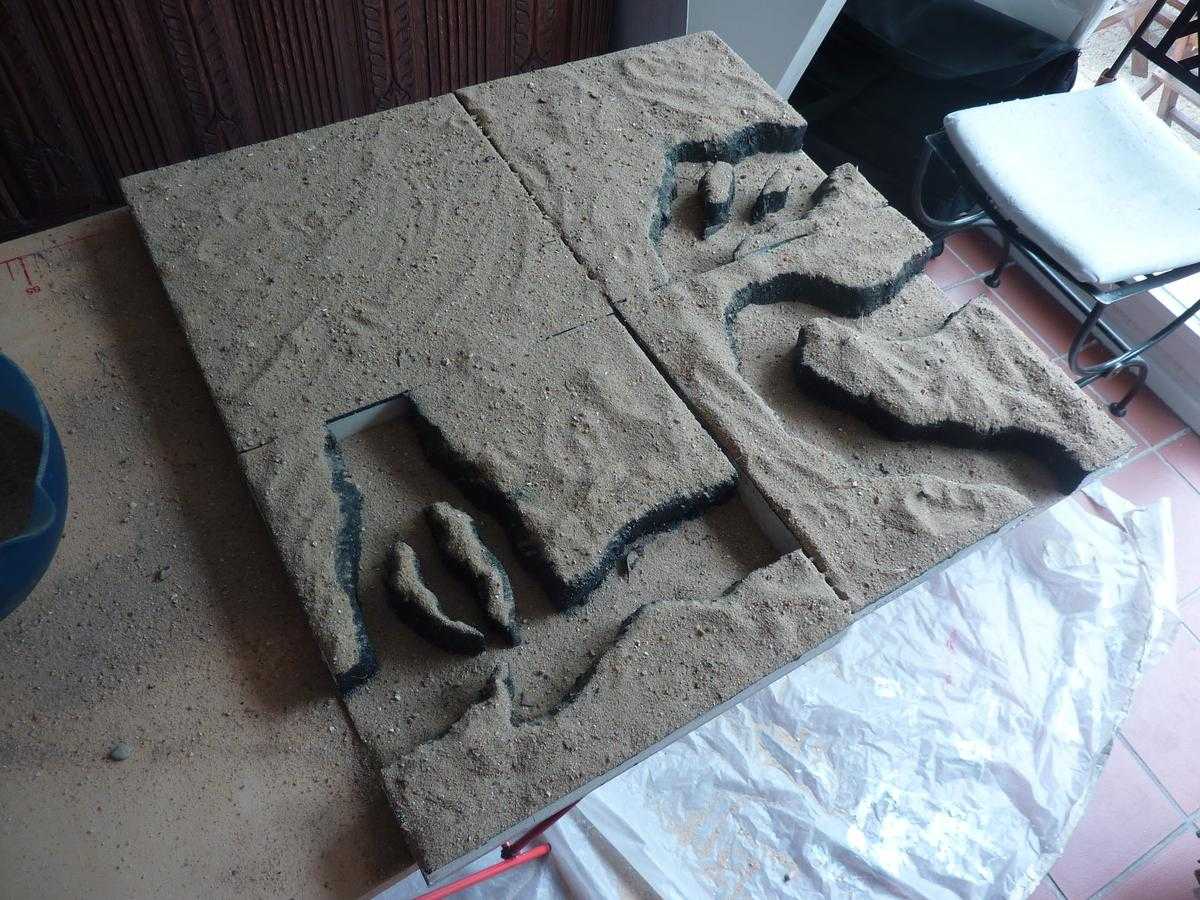
I got all the loose sand off, then I brushed another thick coat of paint.

This time I waited one night just to be on the safe side. After that I mixed the black paint and the white acrylic paint, and I drybrushed this grey over the modules. Then I took pure white and did a very light drybrushing on the small "rocks" and the edges of the lava channels.
For the "meltdown" soil, I simply brushed some orange paint (made with the white acrylic paint and the red and yellow dyes).
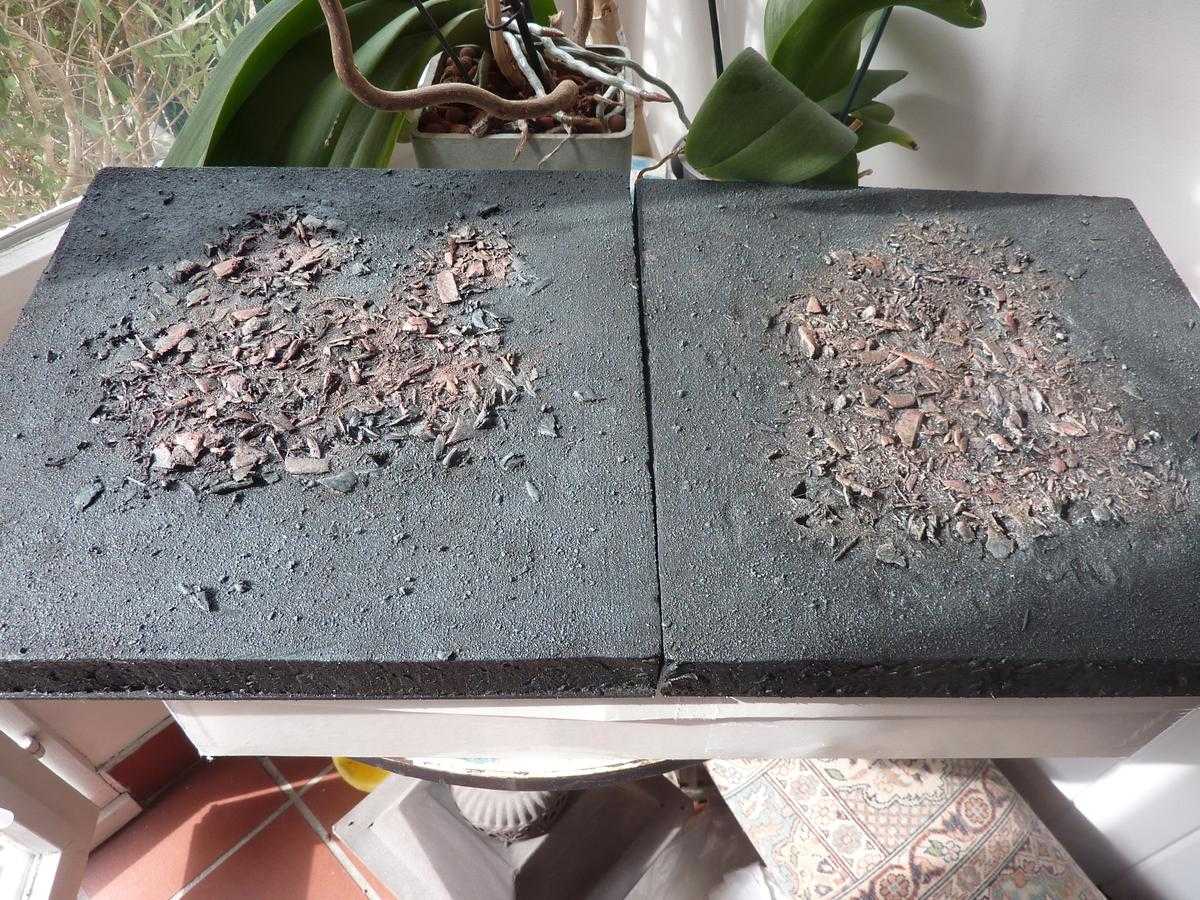
For these modules I used the same technique than for the ruins: I took all the foam scrap I got and mixed them into the sand during the texturing phase.
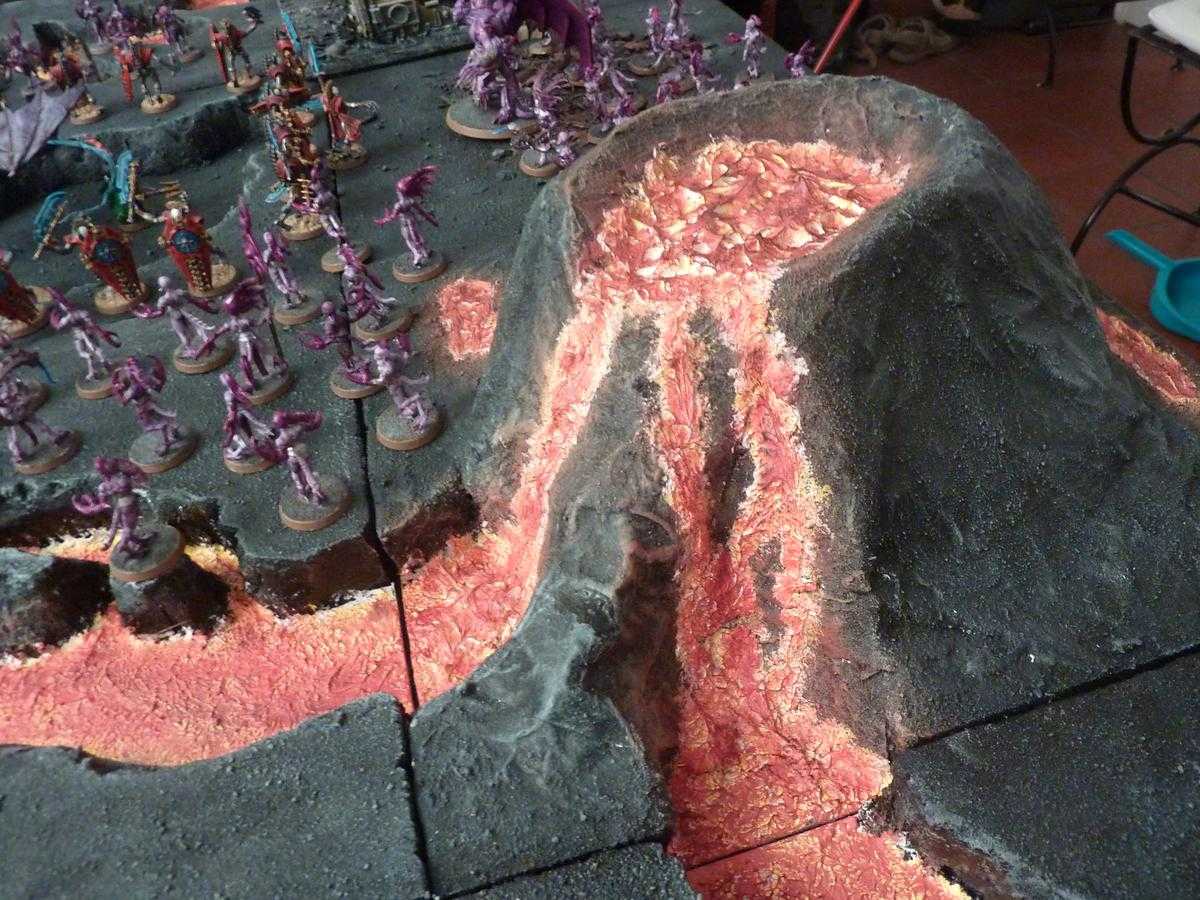
Adding the lava
With the help of a medium sized paintbrush, I spread a coat of caulking into the lava channels.
Dry time: 24 hours (that's the greatest waiting time of the project so I filled it with scenery painting for instance).

I also added a Star Wars easter egg!
The volcano took 48 hours to dry because of the thickness of the coat.
I covered this lava with yellow paint, leaving white spots in some places.
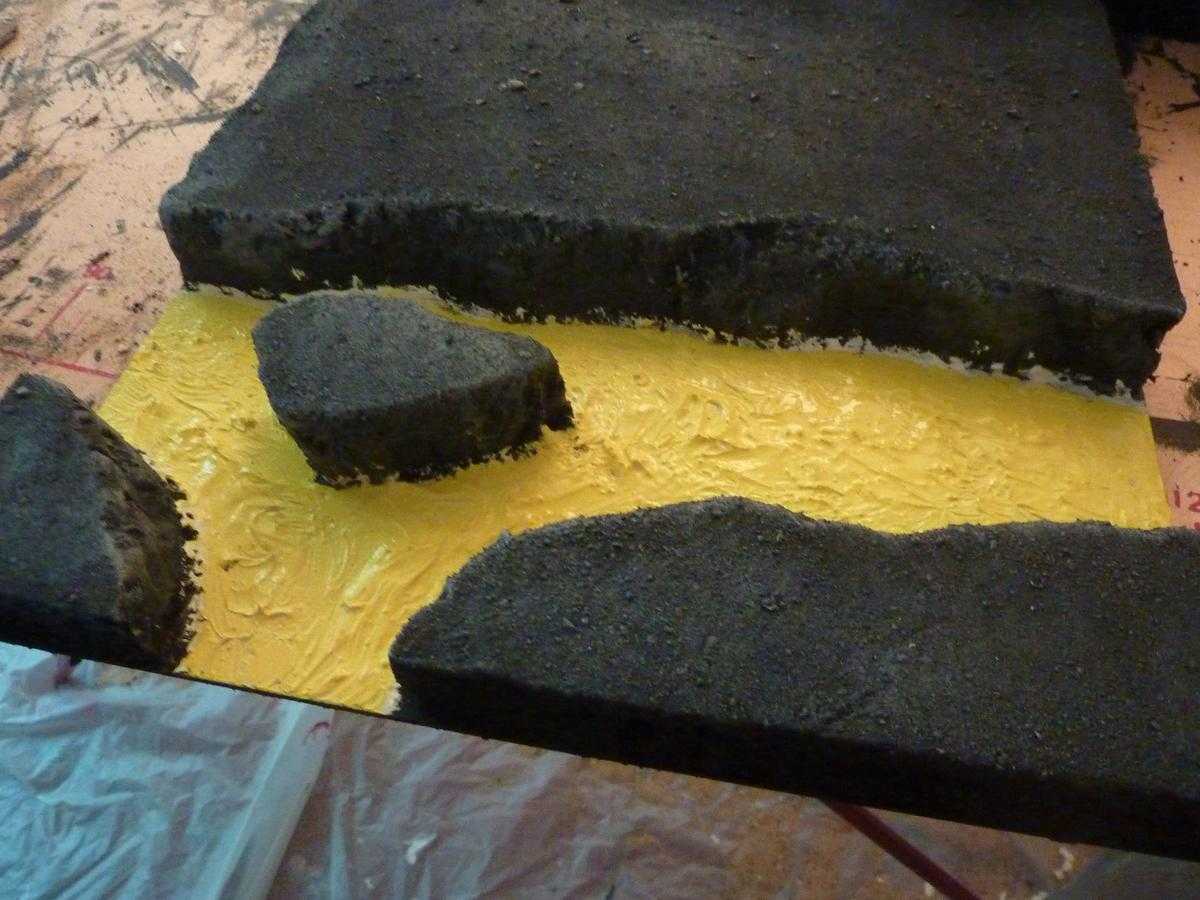
I brushed some orange and red paint, and I also brushed them on the sides of the channels.
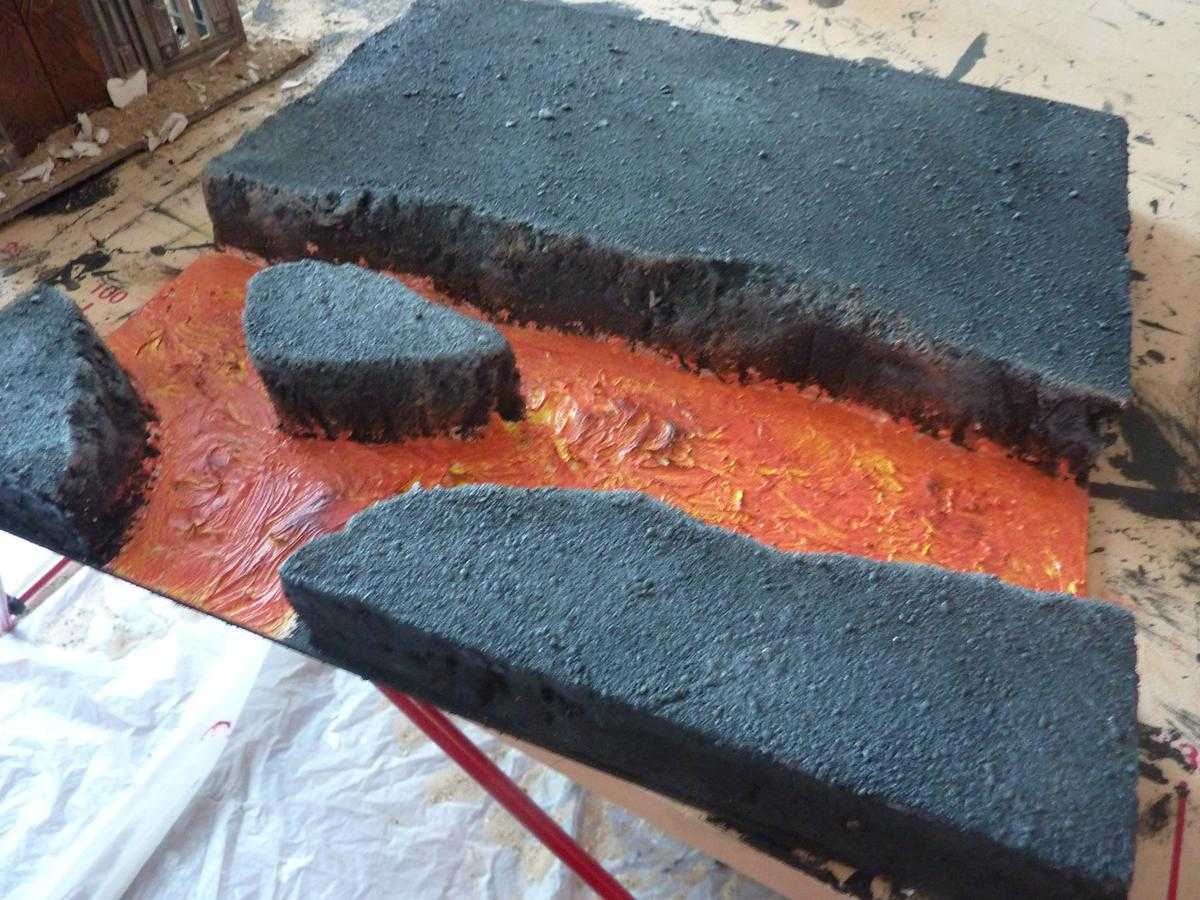
I finished with a drybrush of black paint on the topmost part of the lava.

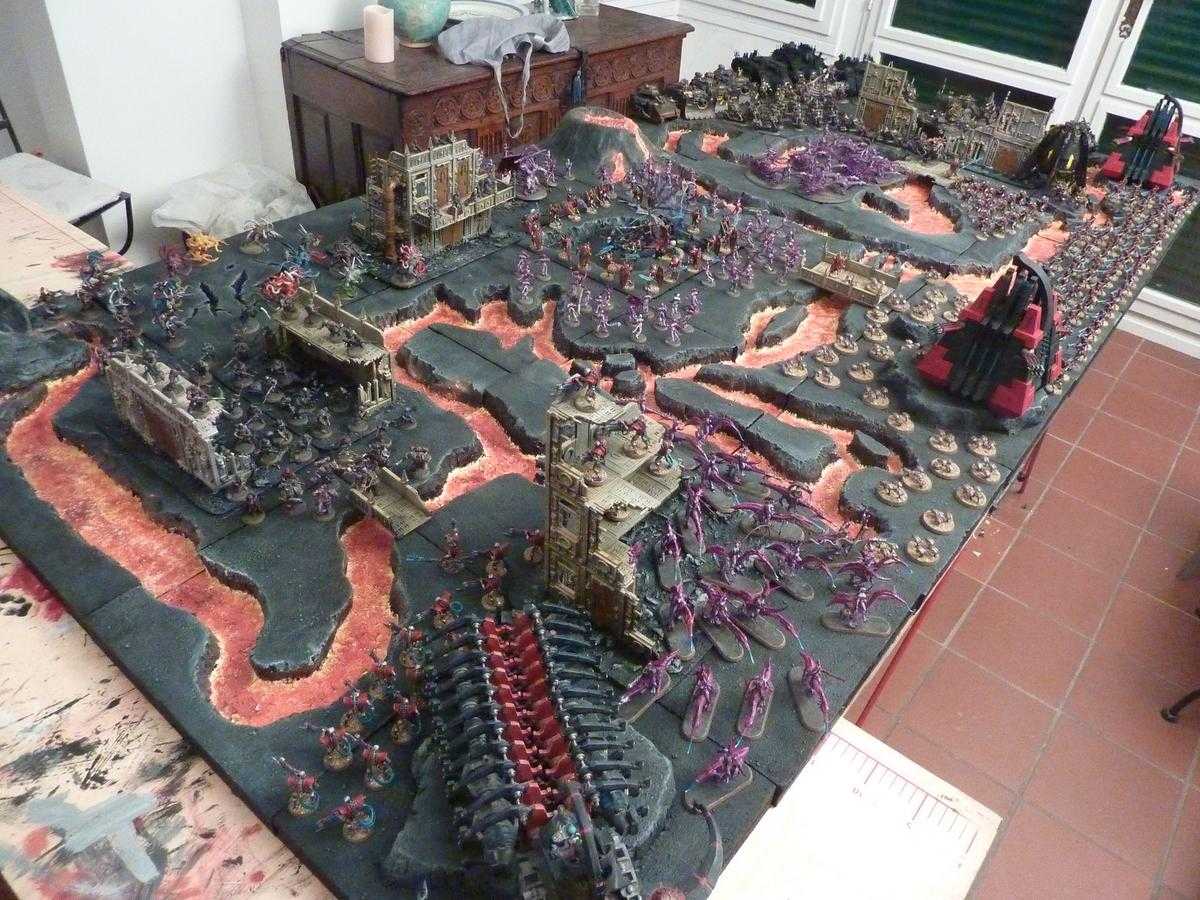
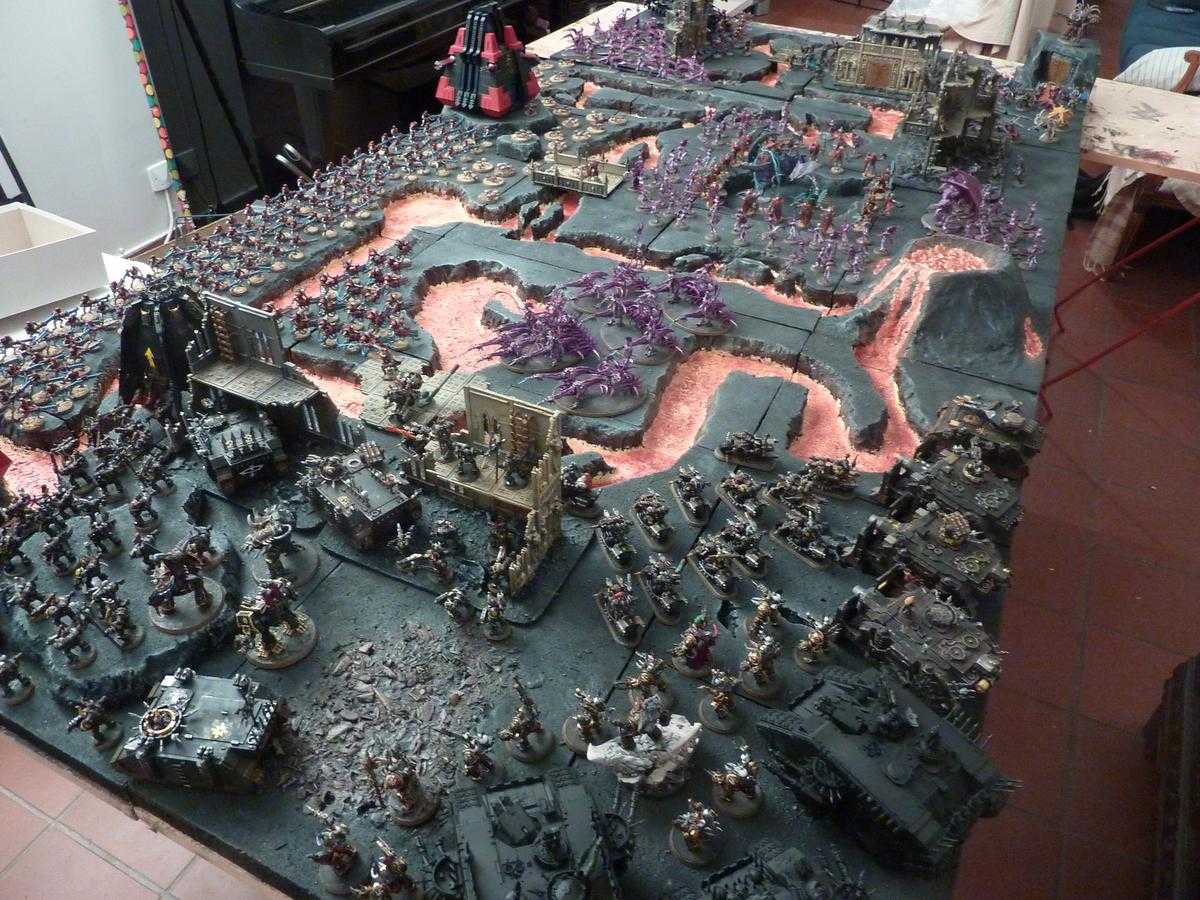
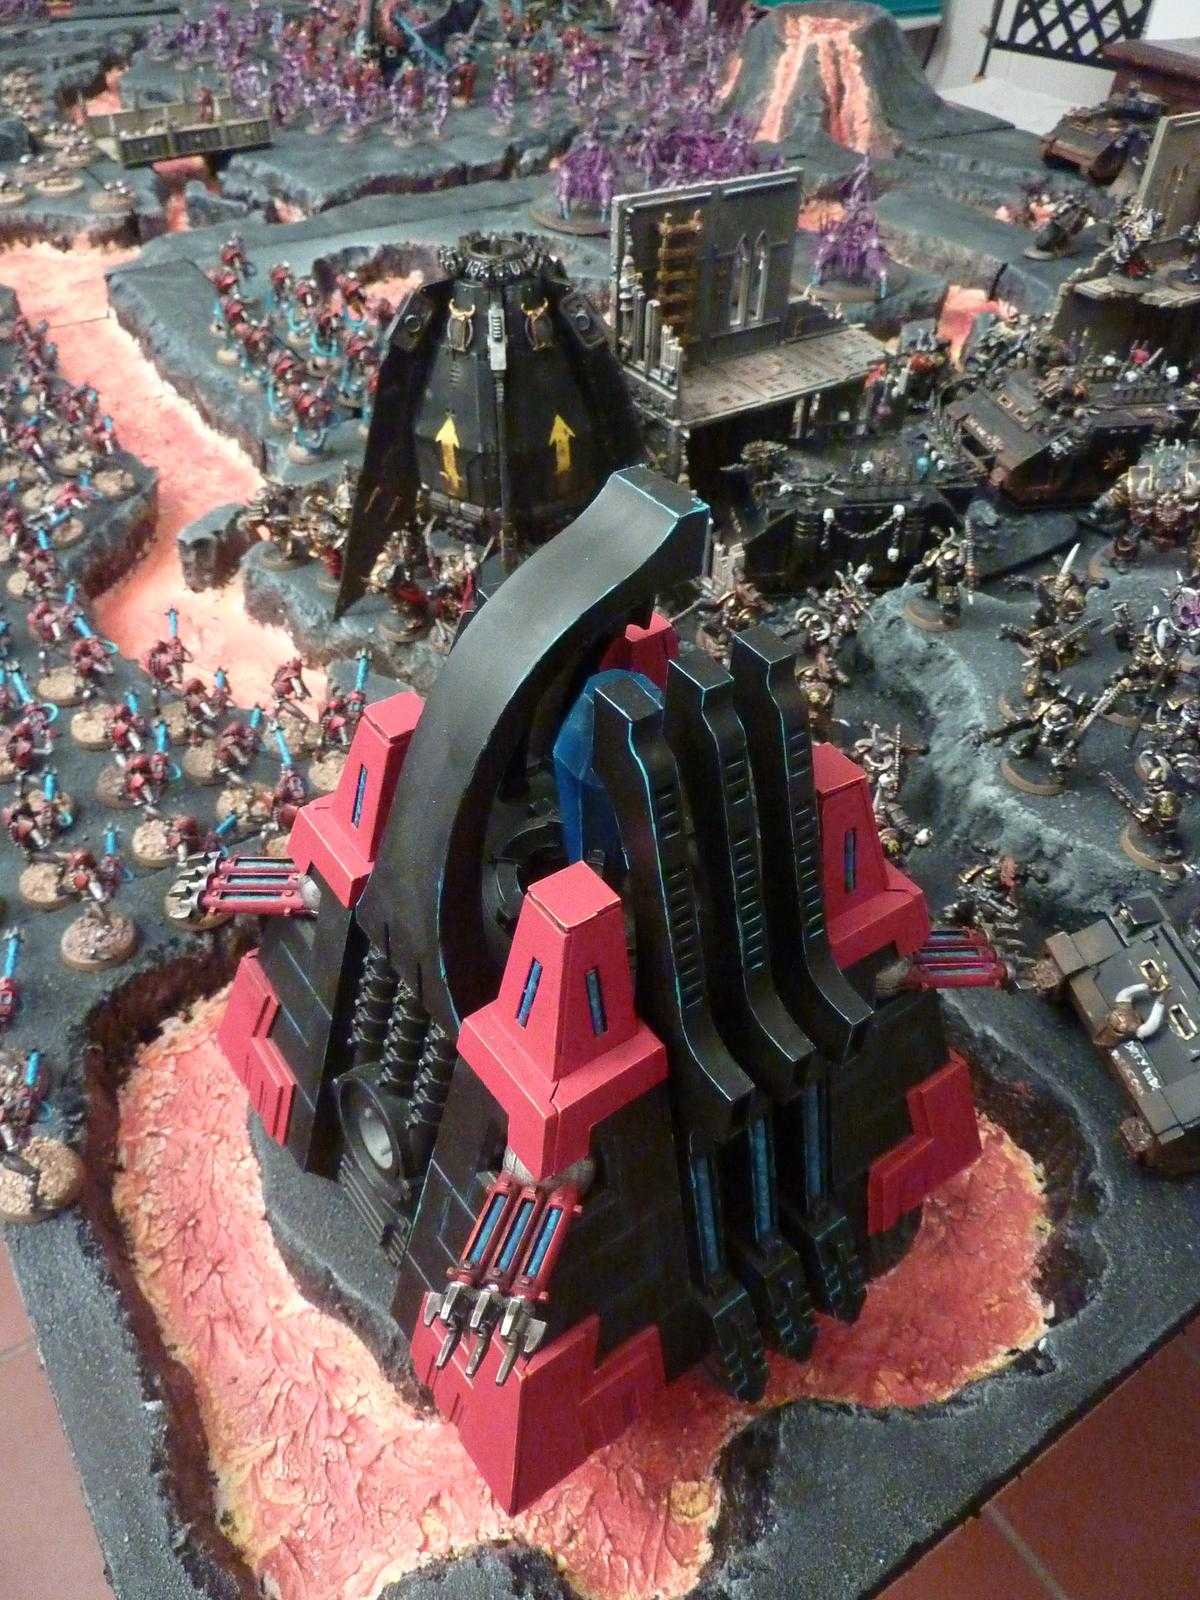
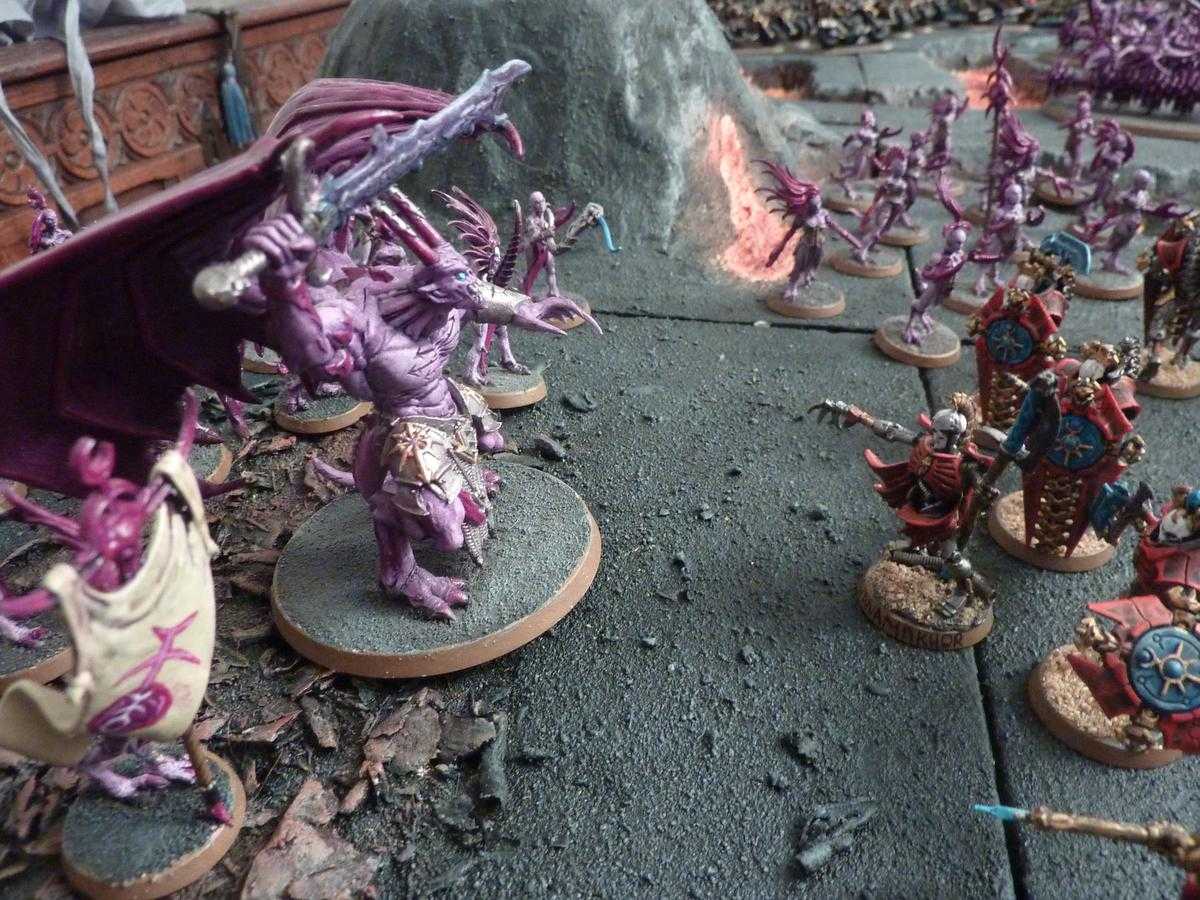
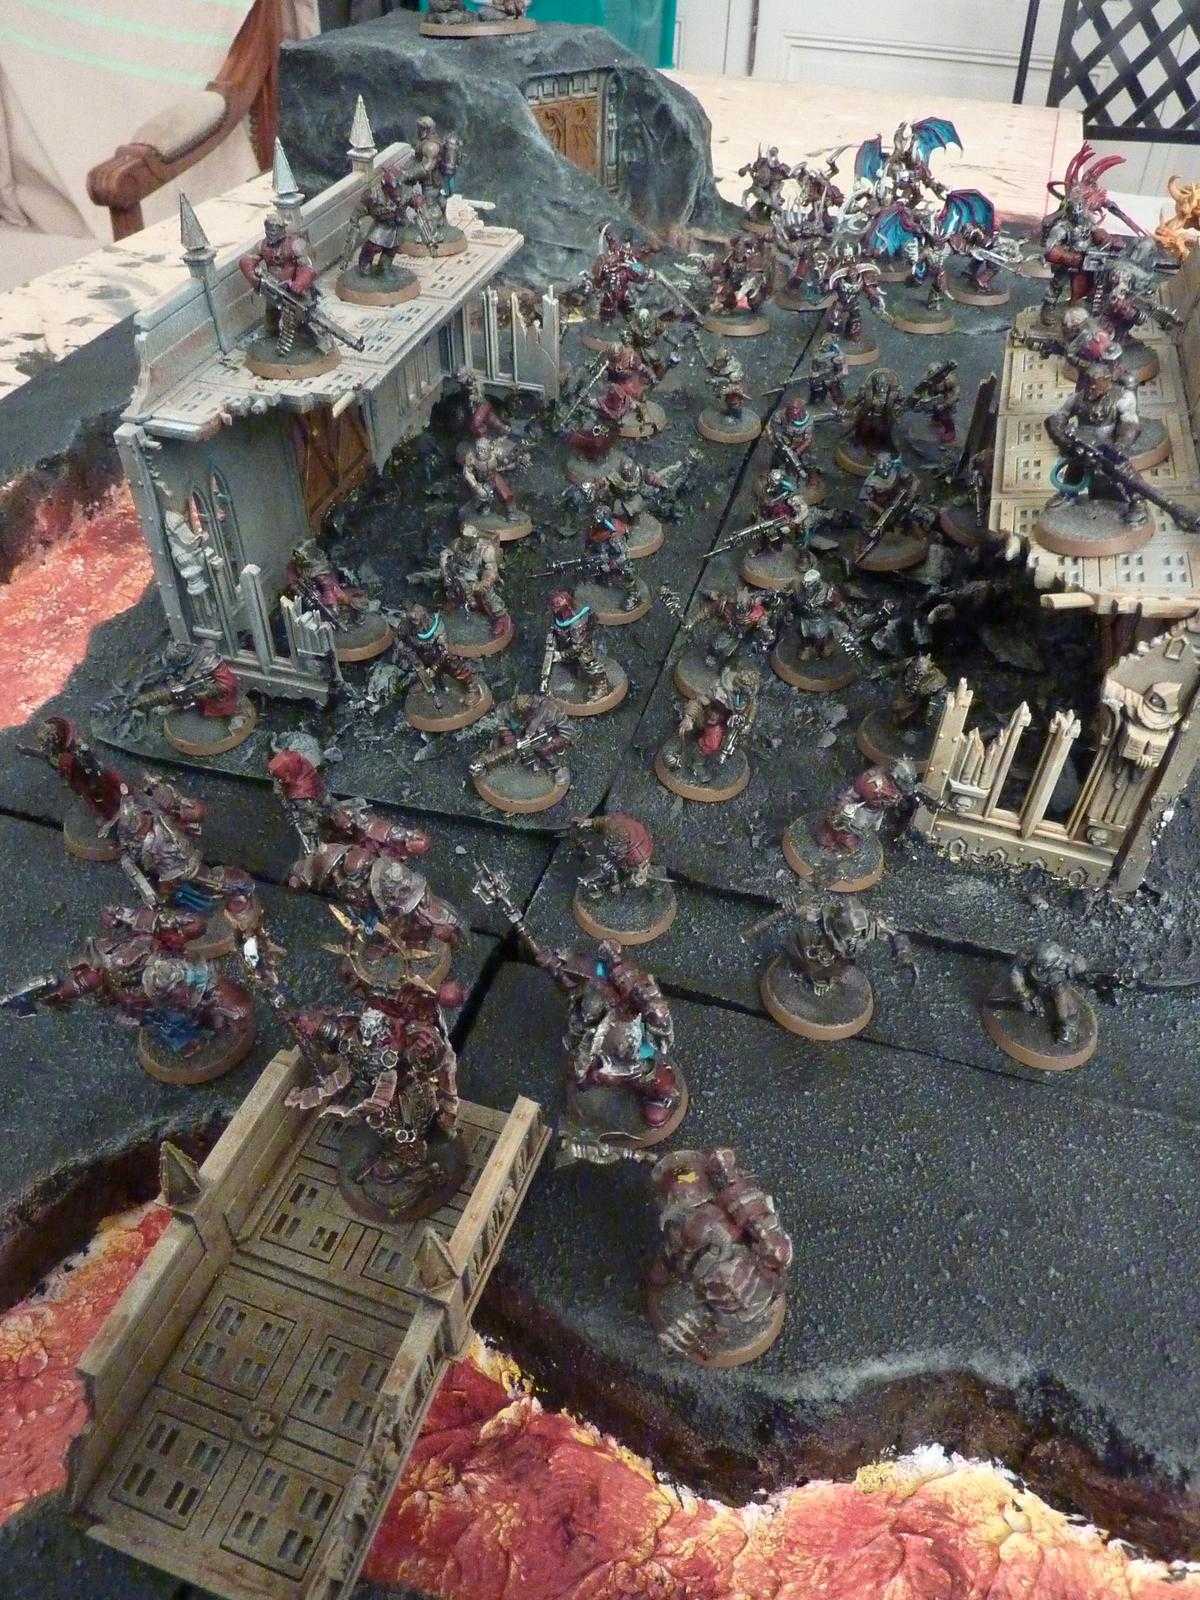
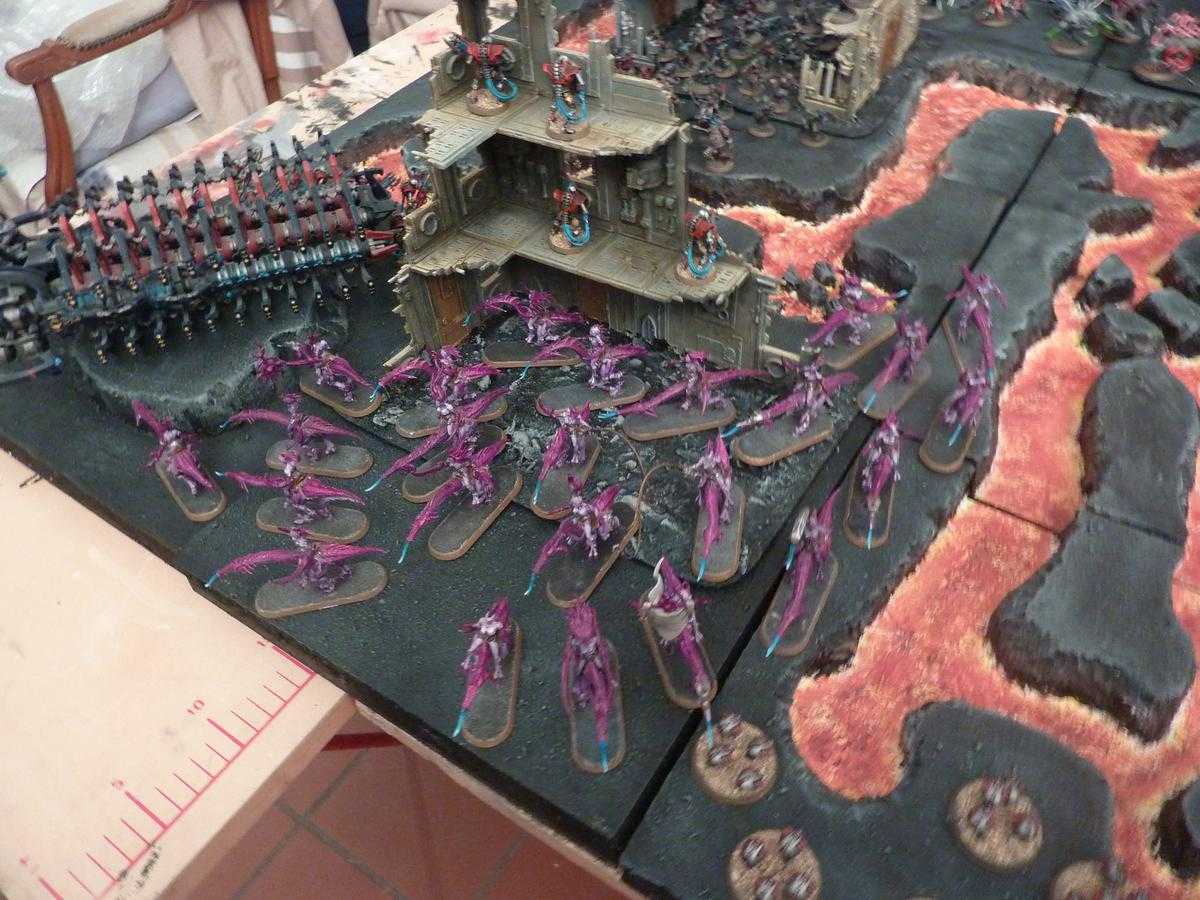
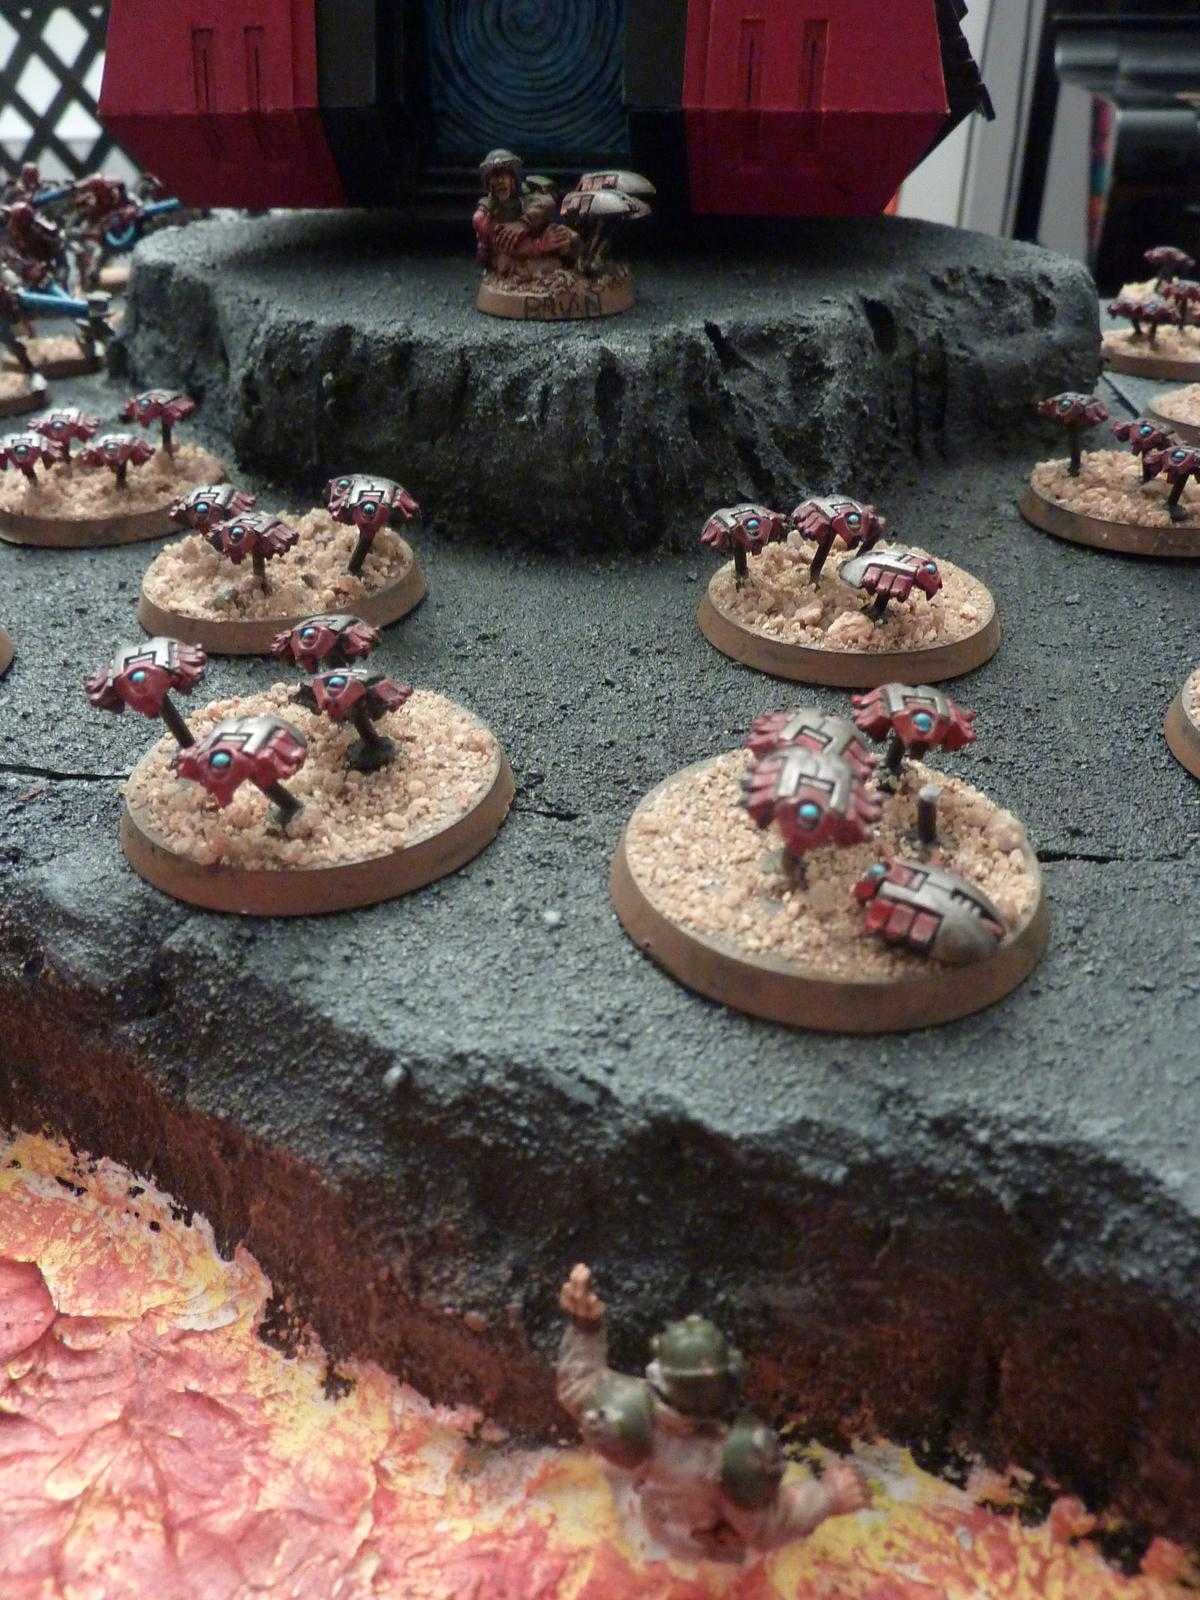
The table
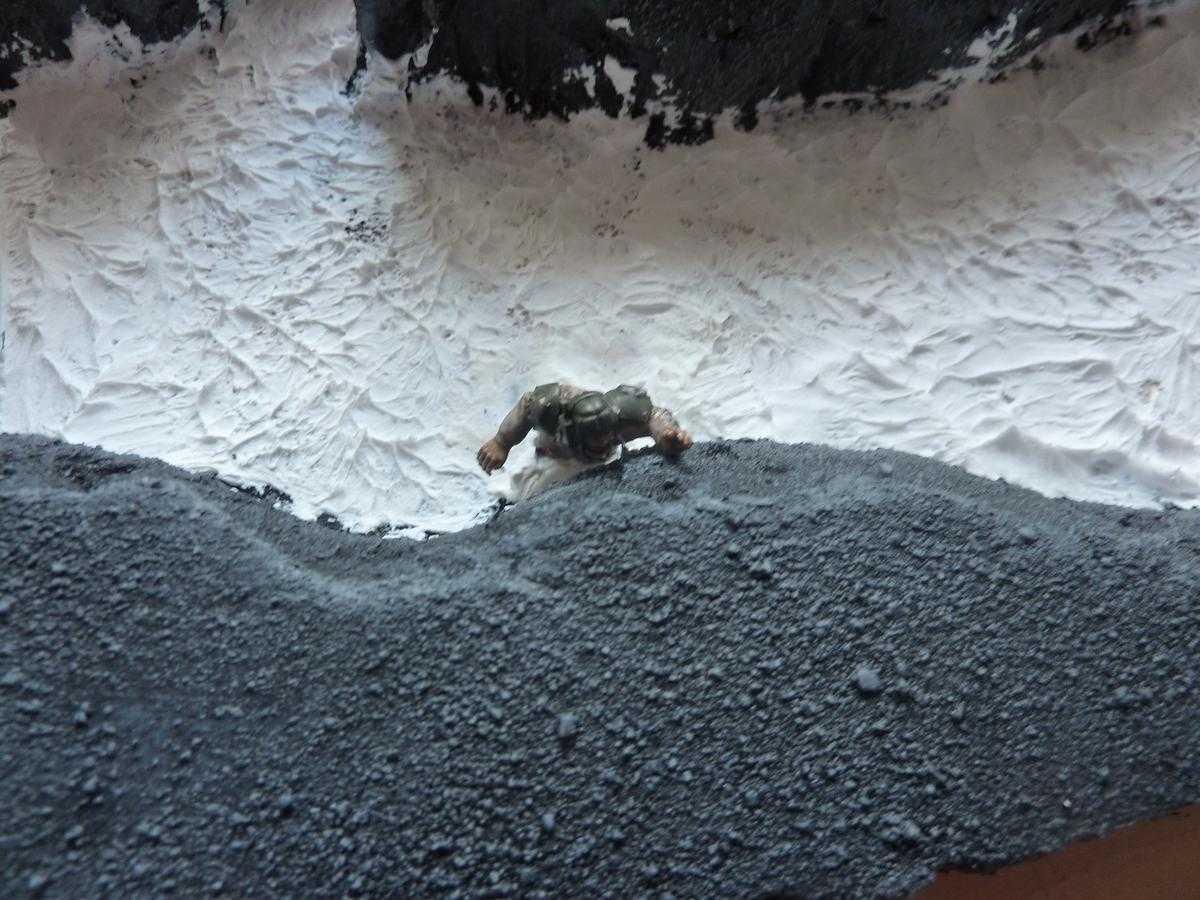
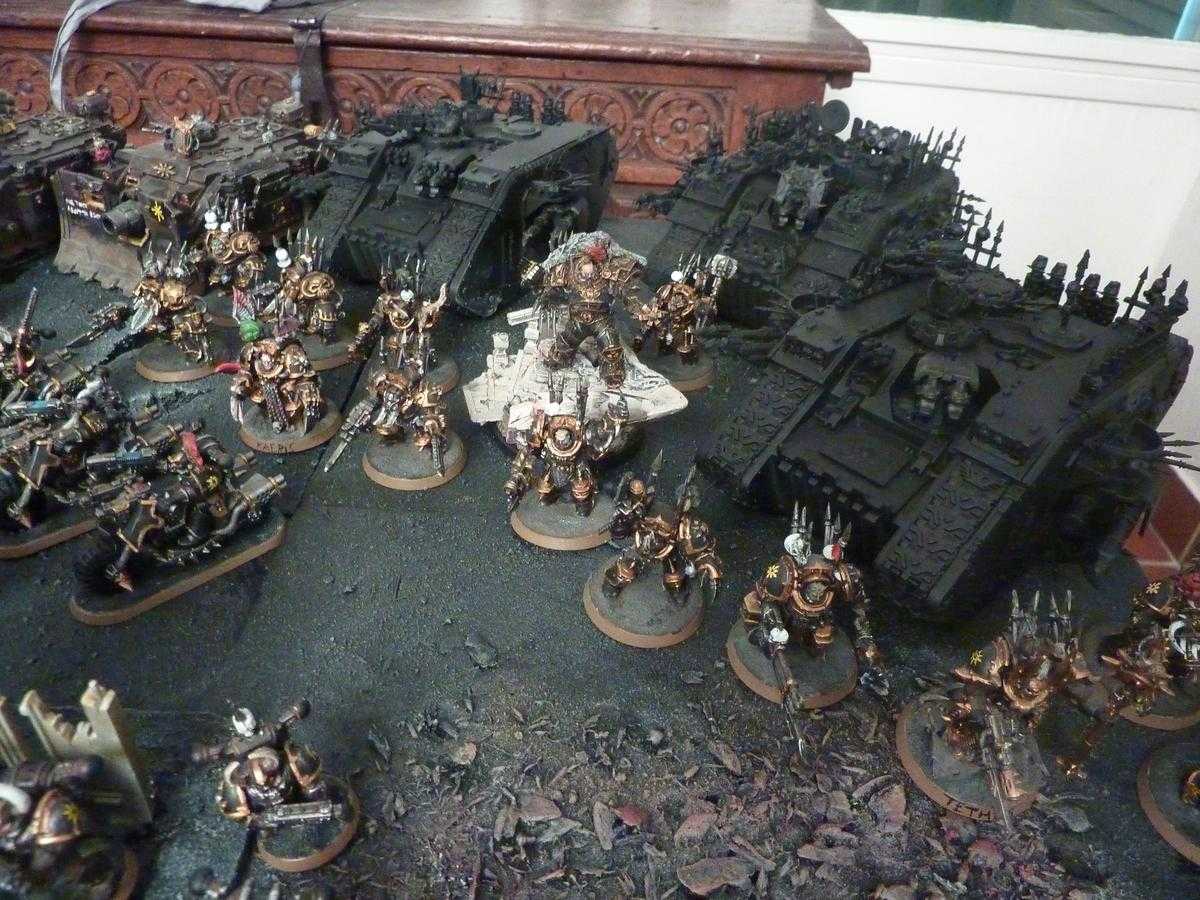
Here is the table with a lot of minis so you can grasp how it feels to play on it.


Feedback & conclusion
I have played five battles on his table and it's great. I feared that the lava would restrain movements but it's not doing it too much. With friends we count the lava as "dangerously impassable terrain": you make dangerous terrain tests while crossing but you can't end up your movement in the lava. It is more a strategic challenge than a real constraint. In addition, you have the bridges, which are of strategic interest, but not by much.
Looking back at the criteria I was satisfied with the table I made. If there is one word to describe the success of the project, it is "speed". I got friends who began building a gaming board but who never finished it because of a lack of time/motivation (and I think there are similar stories across the Internet). Time-boxing the project in one full week (about 90 hours of work) forced me to simplify the conception and acted as a motivation because I saw the advancement progress really fast.
That's an advice I give to all players who are little bothered by the master quality of the paint but have tons of unfinished models: optimize your processes so that you can paint rapidly. By simplifying the colour schemes and techniques I got good-looking armies in record time. But I think that will be for another blog post?